9-Step Simple Curly Girl Method For Beginners: How to Start the CGM

Today, I’m going to show you how to start a super-easy, modified version of the curly girl method for beginners.
This simple curly girl method leaves out all of the impractical and confusing rules you typically come across when searching for how to start the curly girl method, while saving you time and money.
Just to show you anyone can do it, here’s a before and after what my hair looked like before I learned the curly girl method basics:
Tools and materials:
- Clarifying sulfate shampoo
- Deep conditioner
- Sulfate and silicone-free shampoo and conditioner
- Detangling brush
- Leave-in or hair cream
- Mousse or gel
- T-shirt or microfiber towel
- Claw clip
- Diffuser (optional)
What is the curly girl method?
The curly girl method (CGM) was created by Lorraine Massey and helps people with naturally curly, coiled, or wavy hair get the healthiest and most defined curls.
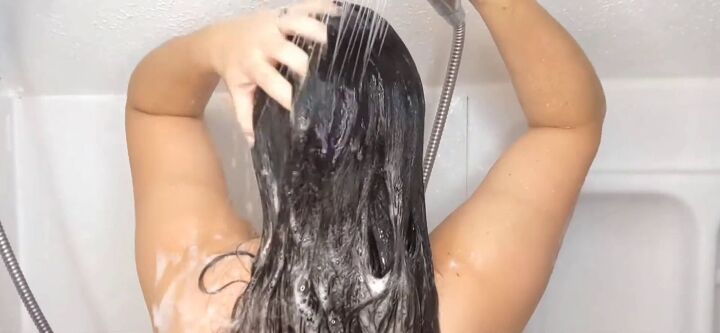
1. Wash your hair with a clarifying shampoo
Let’s start by doing a final wash with a sulfate shampoo. Sulfate shampoos clear out anything you were using in the past and create a clean slate for the healthy ingredients you’re going to be using on your hair from now on.
For every wash moving forward, you should use a silicone and sulfate-free shampoo and conditioner.
2. Deep condition
After clarifying, it’s incredibly important that you deep condition next. Deep conditioner is going to fill your hair with a ton of moisture and nutrients that your hair needs.
I like to apply some to the length of my hair, split my hair onto either side of my neck, and then apply some more. I recommend deep conditioning your hair at least once a week.
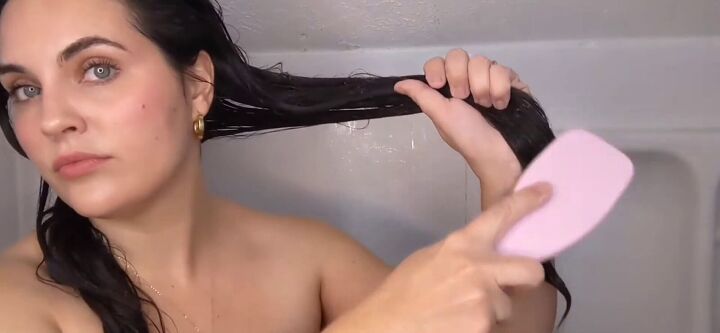
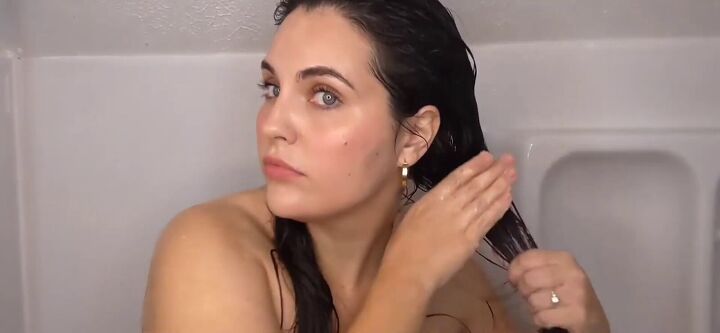
3. Detangle
The next step is to detangle. I recommend using a detangling brush as the bristles are super flexible and great for fragile, curly hair. I like to detangle with conditioner in my hair in the shower because I find it to be easier, but you can detangle before.
Just make sure you’re doing it correctly. To detangle, start at the ends and slowly and gently work your way up.
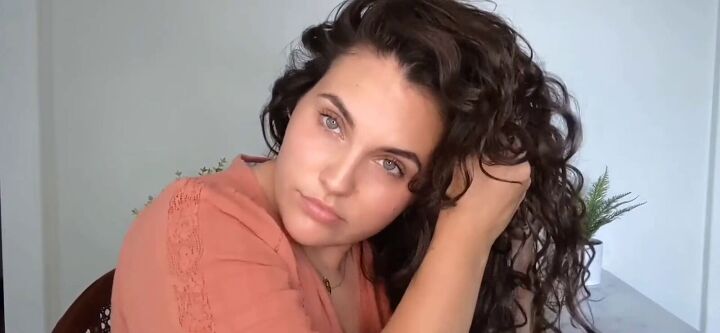
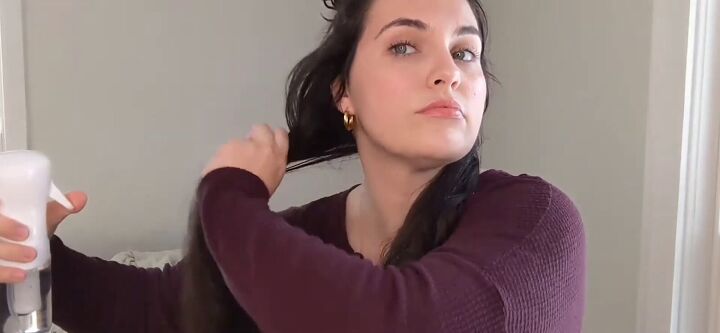
4. Apply styling products
My formula for great results on wash day is to use a hydrating product, plus a product for hold. This means you should use either a leave-in or cream, plus a gel or mousse.
Have a read of my other tutorials on how to apply mousse to curly hair and how to make DIY flaxseed gel for some ideas.
For beginners, it's best to start with affordable products, as you’re going to be doing a lot of experimenting to find out what your hair likes. Nothing is worse than spending a ton of money on a product that’s not going to work.
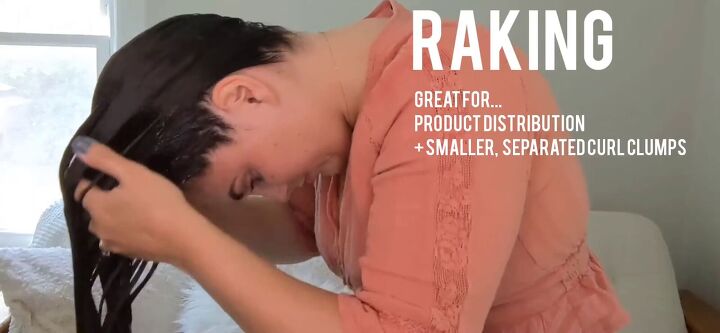
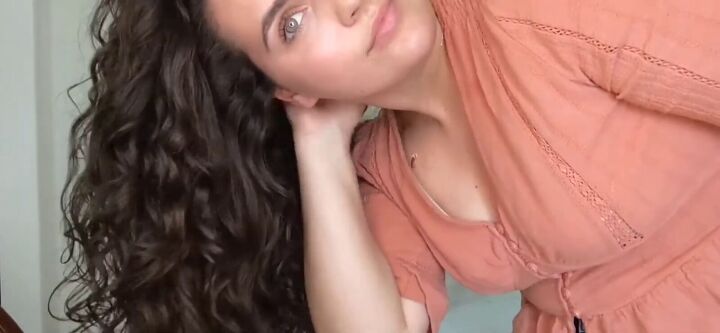
Raking
Now, there are a few techniques you can use when applying the products. The first is raking. Raking helps you distribute your product and gives you smaller defined curls. Simply rake your fingers through your hair.
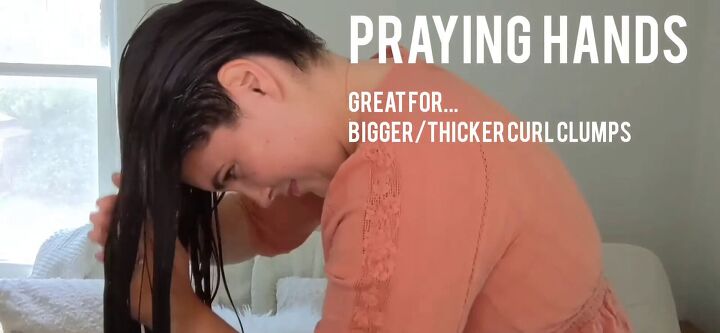
Praying hands
Then, there’s praying hands. Praying hands is going to give you bigger, thicker curl clumps. As the name suggests, sandwich your hair between two flat hands and glide the hands down through the lengths of hair.
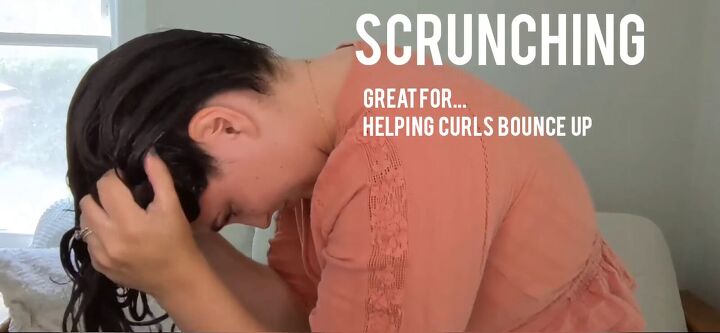
Scrunching
Finally, there’s scrunching. Scrunching is going to help your curls bounce up, so this is typically the last step that I like to do for styling. Scrunch your hair upwards using your fingers and hands.
5. Absorb excess water
To absorb excess water out of your hair, you should use either a t-shirt or a microfiber towel, as regular towels are too harsh and can cause frizz.
I like to plop my hair in the towel for about 15 minutes while I get dressed or do my makeup. You can learn more about plopping curly hair in my previous tutorial.

Then, I take it out and scrunch out that excess water.
6. Drying
Now it’s time to decide how you’re going to dry your hair: air drying or diffusing.
My favorite tip for air drying is to flip your hair back and use a little claw clip to pin up the top section of your hair. This is going to help with volume, which is hard to achieve while air drying. It also keeps the hair out of your face.

Once I notice my hair is starting to dry, I take out the clip and start flipping my hair from side to side every 15 minutes. This is going to create even more volume.
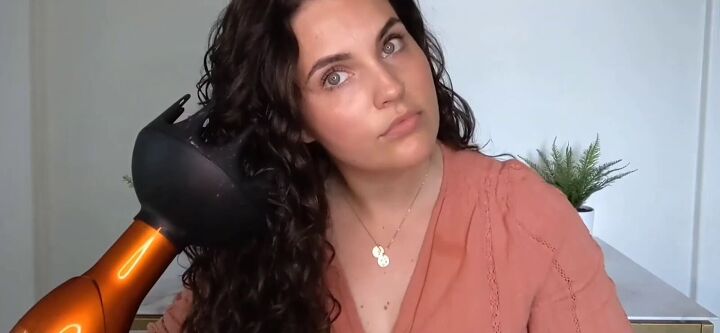
Or, you can use a diffuser. For more details, see my previous tutorial on how to diffuse curly hair without frizz.
7. Scrunch out the crunch
Once your hair is totally dry, you’ll notice it’s kind of crunchy and hard because of the gel or mousse.
To remove that crunch, you’ll want to scrunch your hair. I like to flip my head to one side and just start scrunching.
To fluff it out, I’ll flip my head over and fluff up my roots.
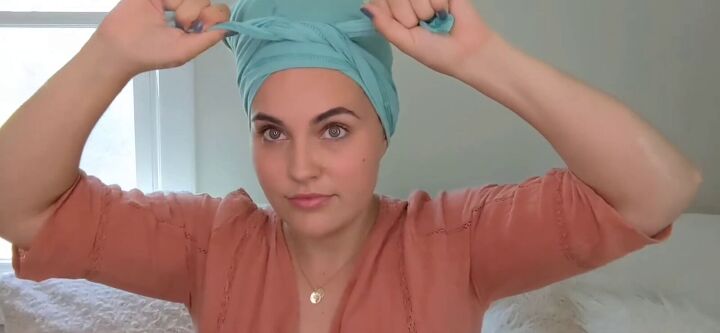
8. Protect your waves/curls overnight
Protecting your curls is important to help your hair look great for days at a time and protect it from breakage and frizz.
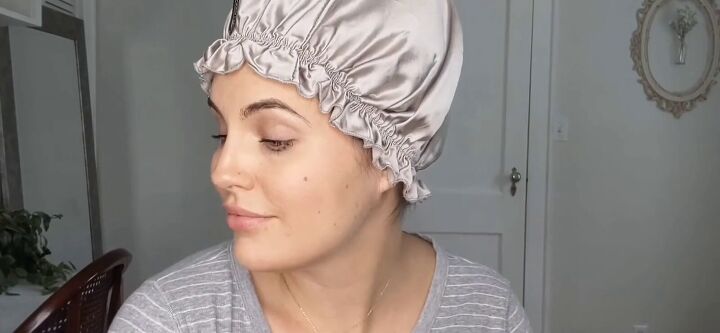
There are a ton of ways to protect your curls at night, so find which one is best for you. Here, I'm wearing a silk bonnet, which protects my curls and prevents the frizz caused by friction on my pillow.
9. Refreshing curls
Some days between washes, your curls aren’t going to look their best and they’ll need help, so make sure you’re refreshing your curls.
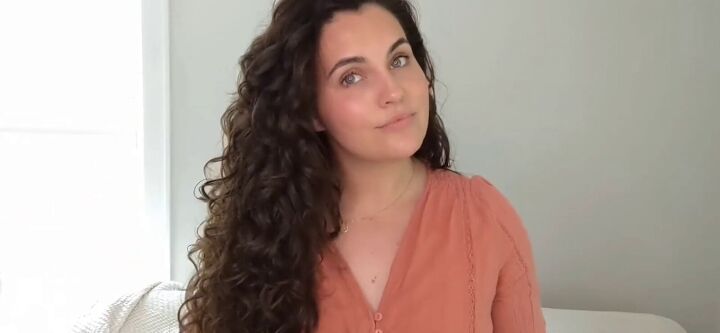
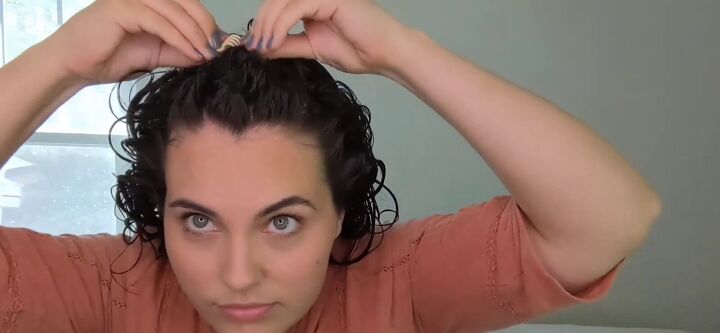
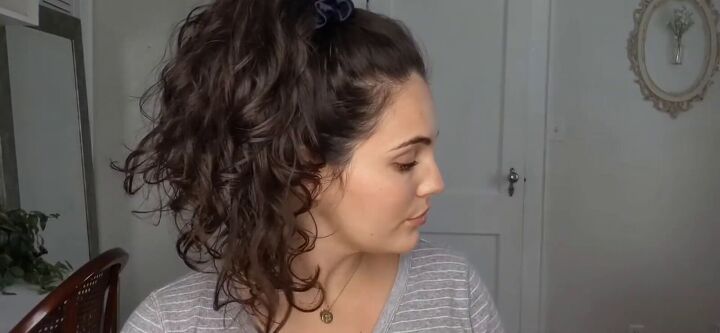
Simple curly girl method
Here are the finished results of our simple curly girl method! The longer you stick to your curly girl routine, the more defined your curls will get and the healthier your hair will be.
It’s important to be patient with your hair and know that healthy hair takes time, but I promise that learning to love your hair is so worth it. Let me know if you guys found this beginner curly girl method helpful!
Products used and recommended:
- Suave Essentials Daily Clarifying Shampoo
- SheaMoisture Jamaican Black Castor Oil Treatment Masque For Dry Hair
- Tangle Teezer | The Ultimate Detangler Hairbrush for Wet & Dry Hair
- GIOVANNI Tea Tree Triple Treat Invigorating Shampoo & Conditioner Set
- GIOVANNI Eco Chic Smooth as Silk Deeper Moisture Conditioner
- Cantu Leave-in Conditioning Cream with Shea Butter for Natural Hair
- Curls Blueberry Bliss Reparative Leave-In Conditioner
- SheaMoisture Curl Enhancing Smoothie for Thick, Curly Hair Coconut & Hibiscus to Reduce Frizz
- Not Your Mother's Curl Talk Cream
- Eco Styler Olive Oil Styling Gel
- Aussie Instant Freeze Hair with Jojoba Oil & Sea Kelp Gel
- Pantene, Tame frizz for Soft Touchable Curls ProV For Curly Hair
- Not Your Mother's Curl Talk Curl Activating Mousse
- Black Tee-Owel (Shoulder to Longer) - Ideal Cotton T-Shirt Hair Towel
- INFINITIPRO BY CONAIR 1875 Watt Salon Performance AC Motor Styling Tool/Hair Dryer
- Black Orchid Hair Diffuser For Curly And Natural Hair
The author may collect a small share of sales from the links on this page.


Comments
Join the conversation