Refashioned Sweater Shrug Tutorial
Cooler mornings are starting to set in here in Colorado, which means I’m starting to think more about refashioned sweaters. I’ve got several ideas rattling around in my brain, and today I’m starting with this refashioned sweater shrug tutorial.
All you need for this easy sweater refashion is an old sweater, a couple yards of trim (sew your own adventure choices below!) and about 30 minutes. Off we go!
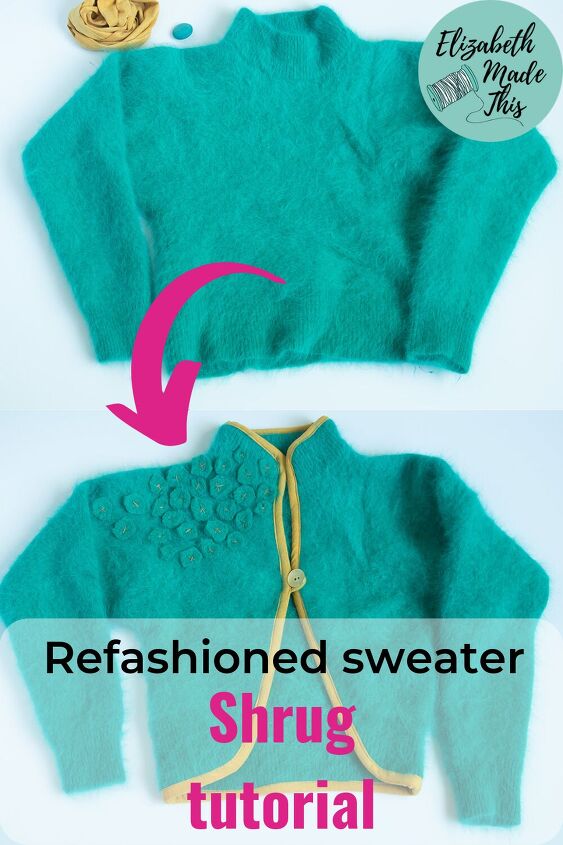
Table of Contents
Refashioned sweater shrug supplies
- Old sweater–raid your closet or thrift a cool one!
- contrast knit for trim: sueded knit, rib knit, ponte, double brushed polyester knit
- Basic sewing supplies: matching thread, sewing machine, scissors, pins
- Microtex needle (if using suede knit), ballpoint, stretch, or universal needle using other knits for trim (learn how to pick the best needles for knits)
- 1 decorative button
- contrast embroidery floss + embroidery needle
- turning tool (like the Turn-It-All Tubes in this list of 11 Helpful Sewing Tools)
- French curve ruler
- chalk
Tips on picking a sweater for this shrug tutorial
Before we get into chopping up your sweater to make it better, let’s chat about what kind of sweater will be best for this shrug tutorial.
Find one that fits you in the shoulders! Shrugs have an annoying tendency to fall off your shoulders. We’re adding a button to help, but if you have one that’s already falling off your shoulders, it’s going to be not super fun to wear. It’s also good for that sweater to fit you reasonable well in the bust. If it feels a little tight in the bust, this project can help add a little space to make the sweater wearable again.

I found this sweater that something accidentally shrunk. Crazy enough it fits me perfectly in the shoulders, and the length is just right for a DIY bolero shrug thingy.
Even if you don’t have a sweater that’s magically the right length, do spend time finding a sweater that’s right in the shoulders. Everything else is fixable! Now it’s sweater transformation time!
Cutting the sweater
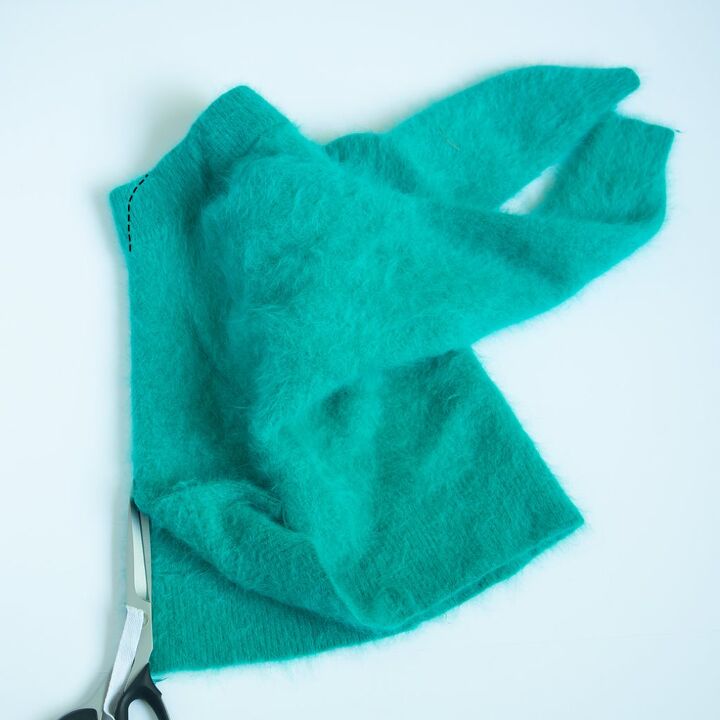
To get ready to cut the sweater, first fold the side seams and shoulder seams together. This will help you find your center front line. And also nobody likes a crooked front edge! I actually pinned my side seams together. This mohair/wool blend is quite thick, so the pins kept everything secure.
Cut along that front fold with your scissors. When you get to the neckline, round the edges in about 1/2″ or so. That’ll make the binding easier later.
My sweater is a good length for that cropped jacket length that is that classic bolero length. If yours is not, cut away the bottom part of the body a few inches below the armhole. You can use a ruler and chalk to mark that line and cut away. Shrugs look great when they stop at mid-back to give you an idea.
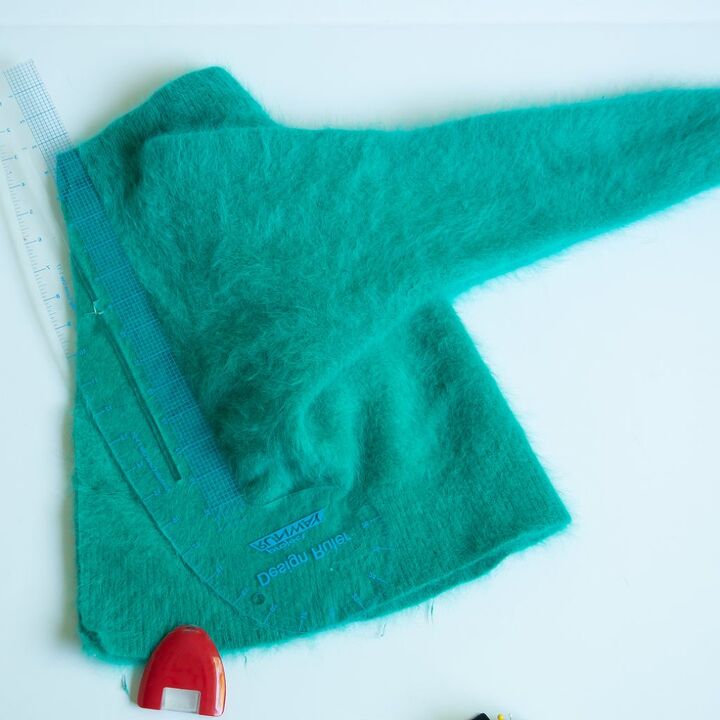
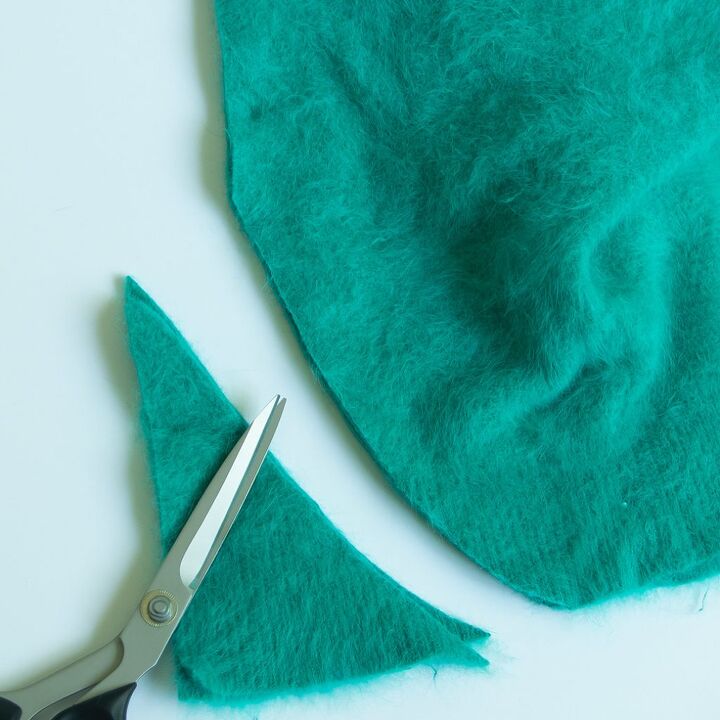
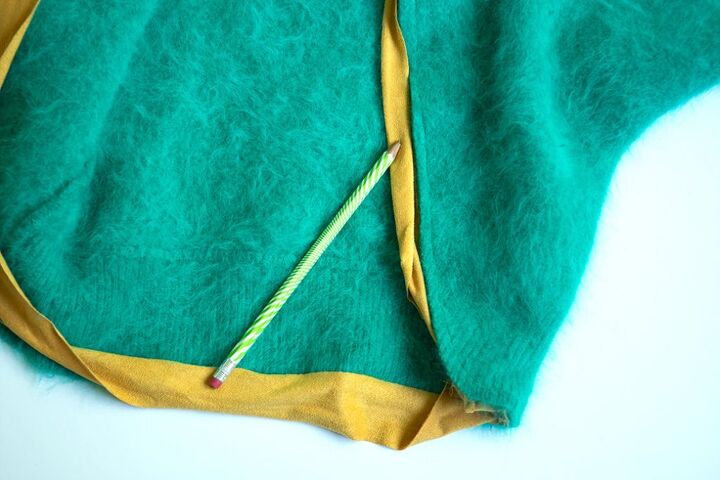
Now we need to give the front edges some shape. With the side seams and shoulder seams still together, draw a nice curve with chalk from the middle of the center front down towards the hem on the front. Cut away below that line. Don’t throw away the extra sweater knit. We’ll save it for a little extra touch later!
Cutting binding
To finish up the cutting, grab your contrast knit fabric. I’m using a sueded knit. Sueded knits look really nice with heavier sweater knits. Other choices are ribbing. You could cut ribbing from rib knit yardage, or keep it in the refashion camp by cutting up a rib knit sweater.
I’m always on the look out for good rib knits when I’m thrifting because it’s often so much easier to find just the right color at my local thrift store vs. at a fabric store!
Whatever your choice, cut 2″ strips so that the stretch goes the length of your strip. You need about 2 yards in length, maybe a little less, maybe a little more depending on the sweater you’re using. It’s totally okay to cut a couple strips and seam them together to get the right length!
Now on to sewing our refashioned sweater.
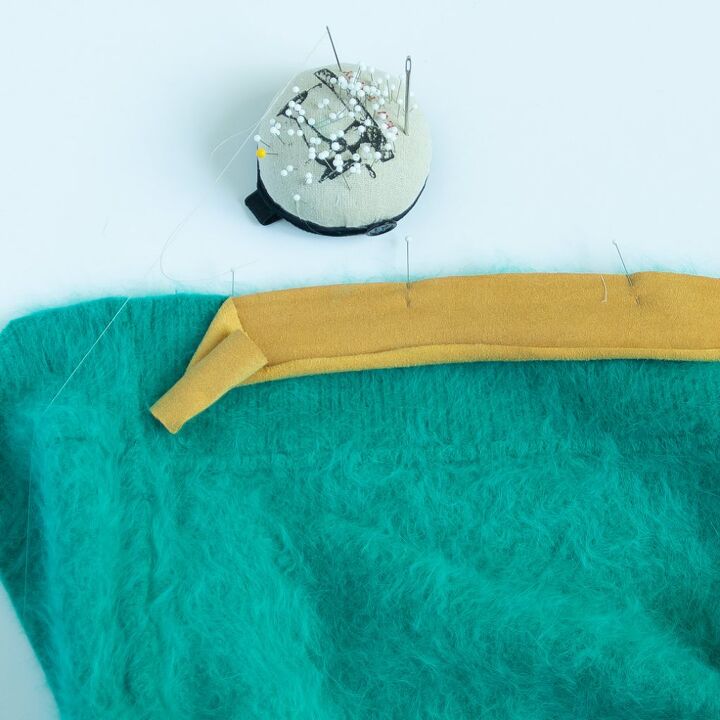
Flip your sweater to the wrong side. Match the bottom edge of the wrong side of the sweater to the right side of the binding. Start pinning a couple inches from one of the side seams. Let the end of the binding go past the side seam by about 3/8″. This will help us later when we seam the ends of the binding together.
Keep pinning around the bottom, up the front edge, around the neckline, and back down the second edge. As you pin the binding, stretch the binding only just slightly. Don’t stretch the sweater unless you dig that warped sweater look.
Finish pinning at the side seam where you started. If you have extra fabric, cut it off so there’s 3/8″ past the side seam.
Sewing the binding
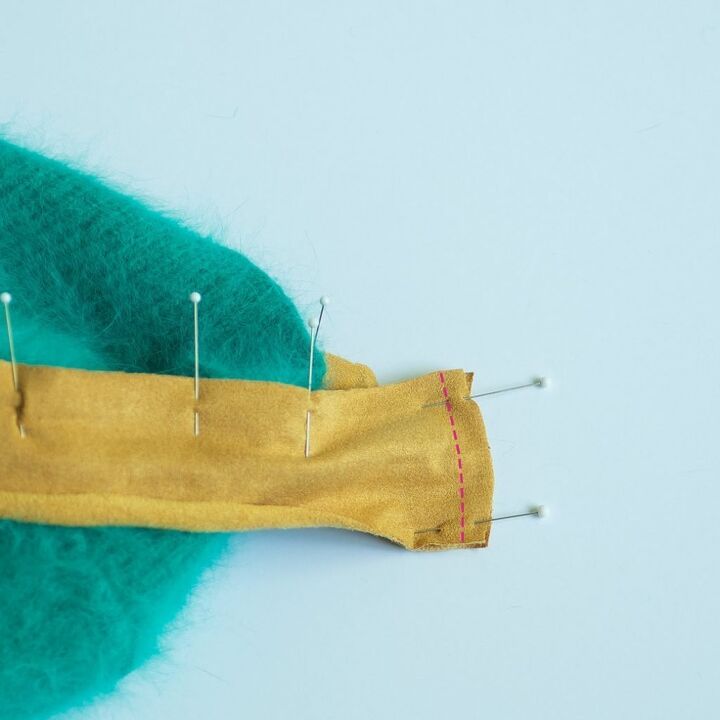
Sew the short ends of the binding together with a 3/8″ seam allowance.
Next, sew the binding all the way around the sweater with a 3/8″ seam allowance.
If you’re using sueded knit, it is not going to press worth beans. No worries. We’ll get through it. If you are using a rib knit, fold and press the raw edge of the knit towards the right side.
Finishing the binding
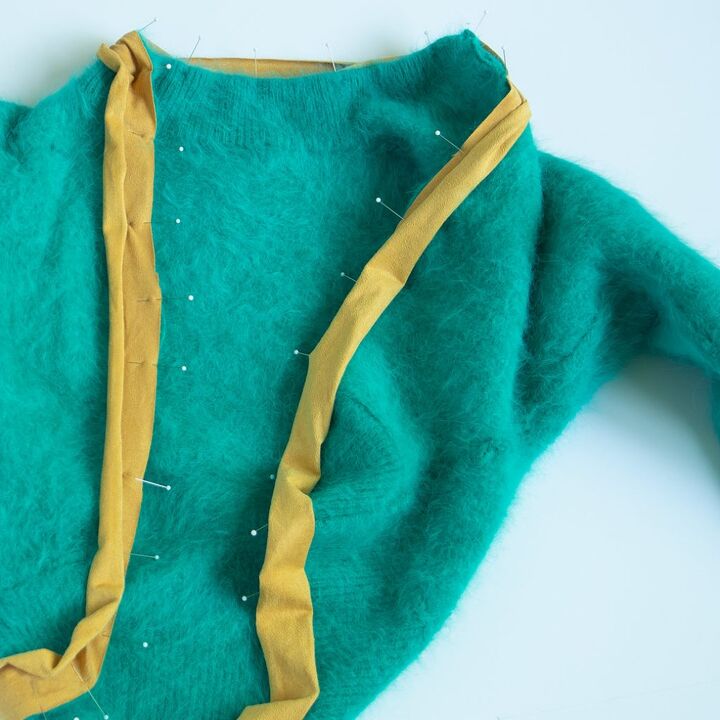
Turn the sweater back to the right side. Now flip your folded binding so that it covers the stitching line on the sweater. This will wrap edges.
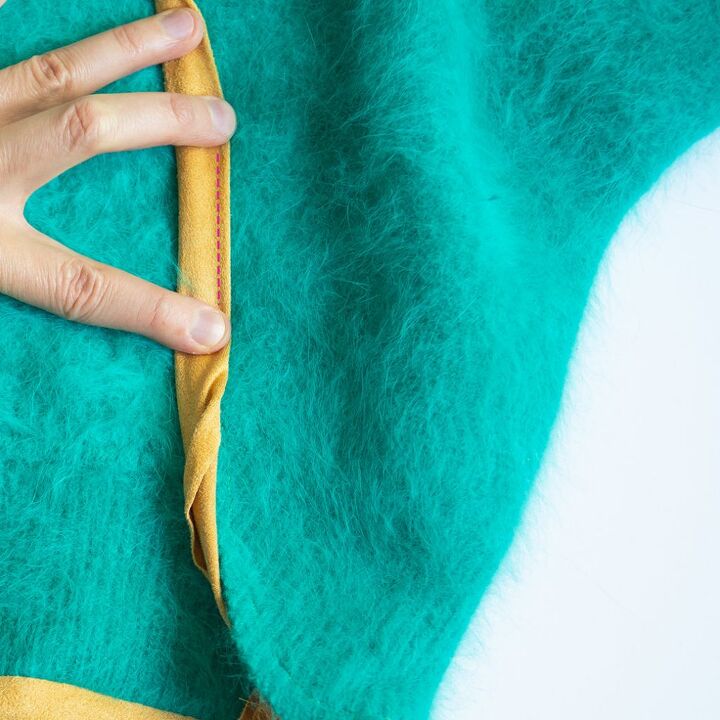
If you’re a fan of those binding clips that quilters use, this would be the place to use them. Your goal is to keep the binding width as consistent as you can as you flip it to the right side.
Working from the right side, stitch down the binding close to the folded edge. If you don’t have those clips, use your fingers to fold a few inches, and stitch. Stop, fold a few more inches and keep going all the way around the sweater. Do not pin the suede because it can damage the fabric!
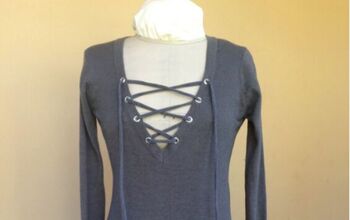
Adding a button and loop
Cut a piece of 3″ from the extra binding. If you didn’t have extra binding, cut a 2″x3″ piece of the binding fabric.
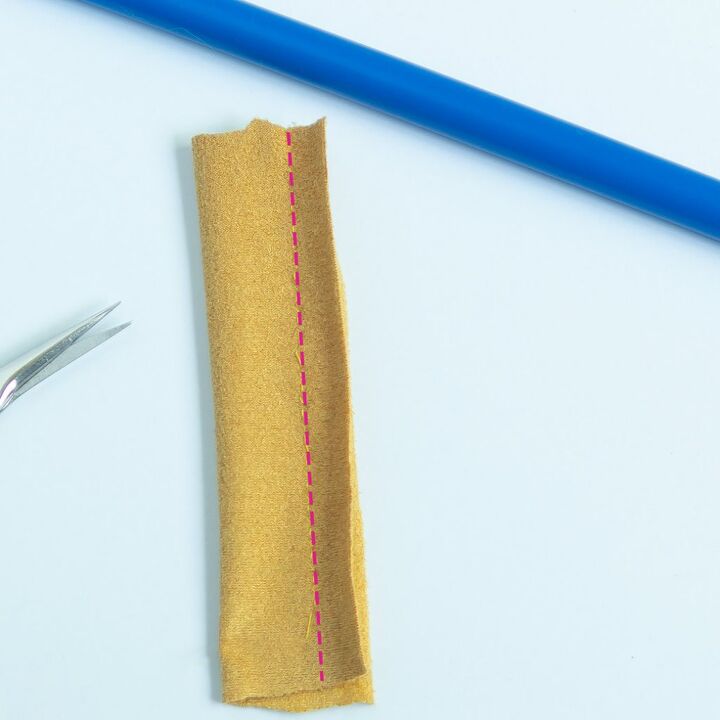
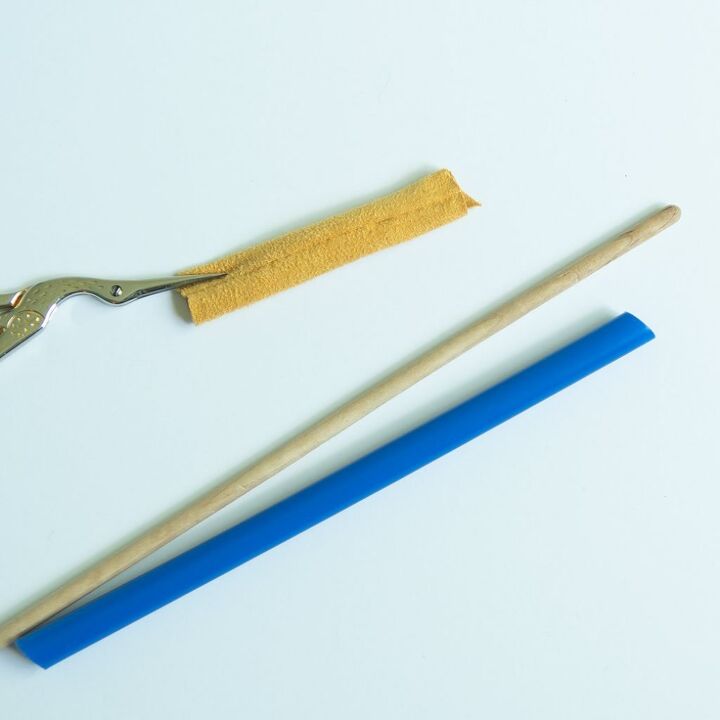
Fold it in half lengthwise and stitch down the side with a 3/8″ seam allowance. Use your loop turner to turn it inside out.
Bring the raw ends of the loop next to each other to make a loop shape. Place the loop under the right side of the right front edge at the top of the center front portion you cut away. Stitch the loop in place on the edge of the binding. Also stitch along the line you topstitched earlier on the binding to make the loop extra secure.

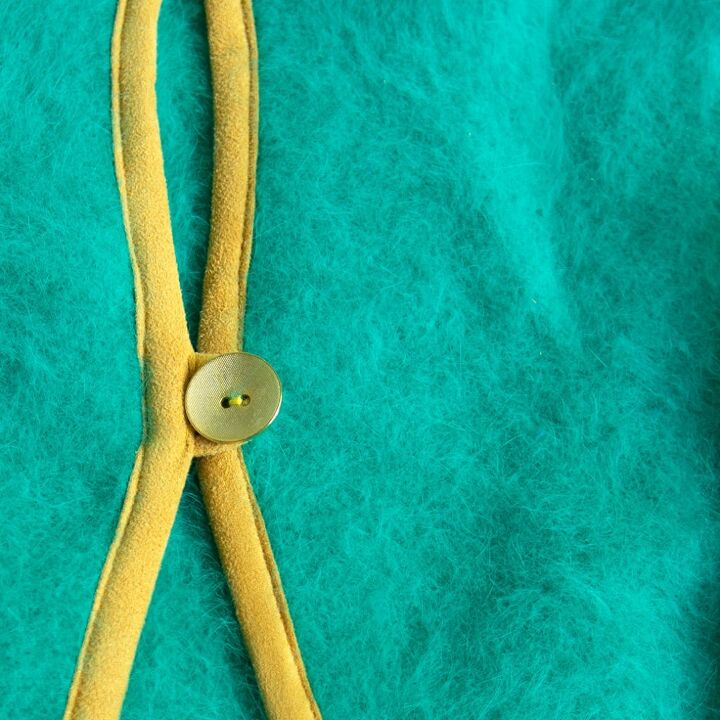
Sew on a decorative button on the left front. You might want to slip it into the loop to double check the placement.
At this point, you could call it a day with your refashioned sweater. But let’s jazz it up a little bit more with that leftover fabric.
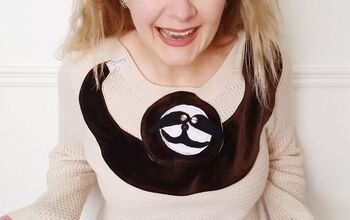
Embellish your refashioned sweater with some easy embroidered circles
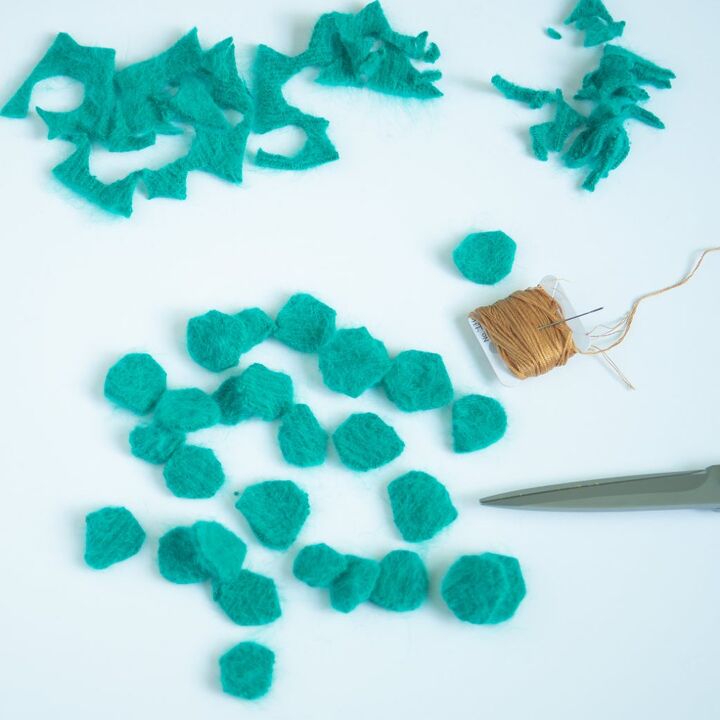
Cut circles from the leftover sweater knit. They don’t have to be perfect!
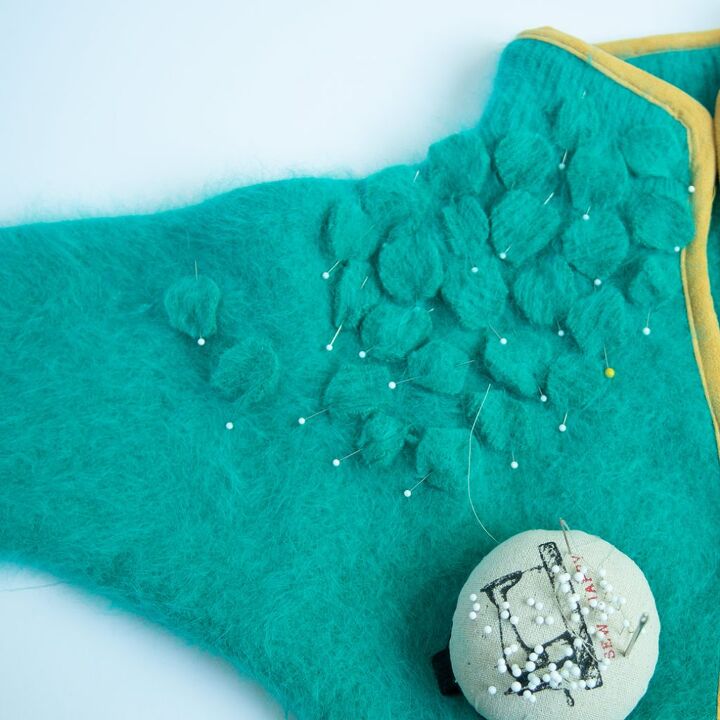
Pin the circles on one shoulder in a way that looks good to you. I’m pinning mine on my right shoulder since my violin playing involves my left, but either is good.
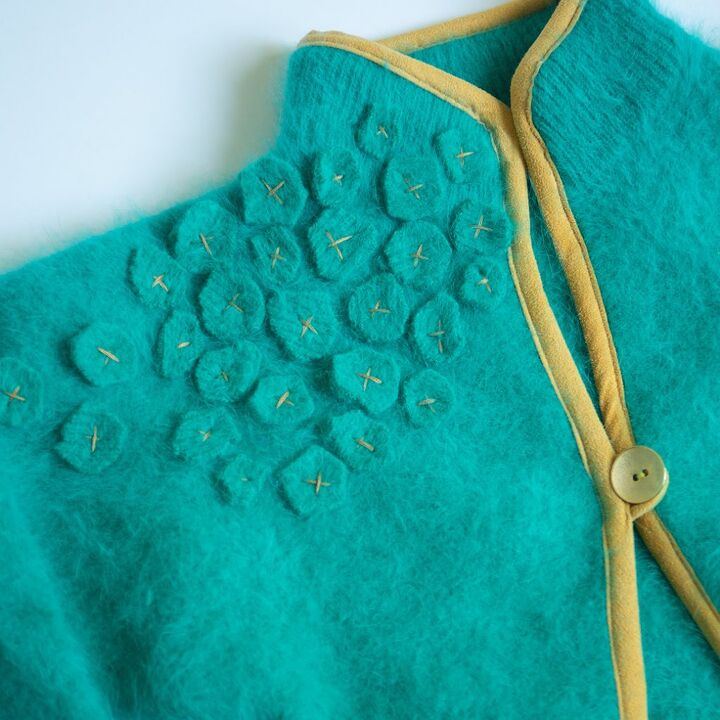
To finish up, thread some embroidery floss through an embroidery needle and secure the circles with a big X in the middle of each circle. I knotted my thread at the beginning and finish of each X. That’s probably overkill, but I personally like knots vs. big stitches of thread on the wrong side.
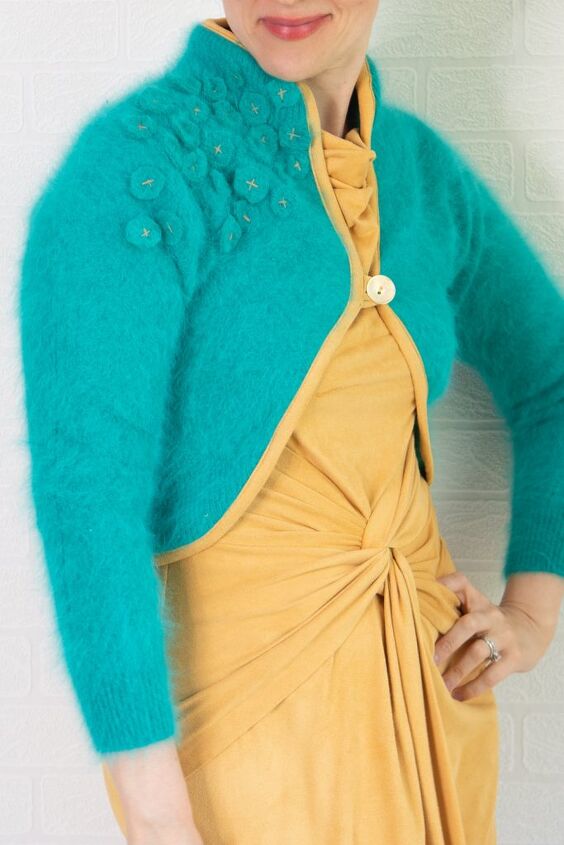
And that’s it! You’ve got a quick easy bolero and you gave some new life to an old cast off sweater. Wear it out!
Elizabeth Farr is the writer behind the Elizabeth Made This blog where she shares helpful sewing tips, step by step sewing tutorials and videos to help you explore your creativity through sewing. She has written sewing Eguides and patterns, been a featured teacher at Rebecca Page’s Sewing Summit and Jennifer Maker’s Holiday Maker Fest and her work has appeared in Seamwork and Altered Couture magazines. She also created a line of refashioned garments for SEWN Denver. When her sewing machine isn’t humming, she’s playing and teaching violin, and hanging around a good strategic board game with her husband and 4 kids.
The author may collect a small share of sales from the links on this page.


Comments
Join the conversation
Wonderful idea. The decorative circles add great texture and I would never have thought to do that.
I have been trying to find a great pair of fabric - cutting scissors...anyone recommend a pair?