2 Easy Ways to Fringe Cut a T-Shirt - Fun Macrame T-Shirt DIY

In this tutorial, I'm going to show you how to make a fringe-cut t-shirt. Who doesn’t love a good fringe! These DIY fringe shirts with knots are perfect for concerts, friend and family get-togethers, or just for fun!
Follow along with this macrame t-shirt DIY tutorial to learn cute ways to cut and knot the bottom of a t-shirt.
Tools and materials:
- T-shirt
- Scissors
- Marking chalk
- Ruler
- Pins

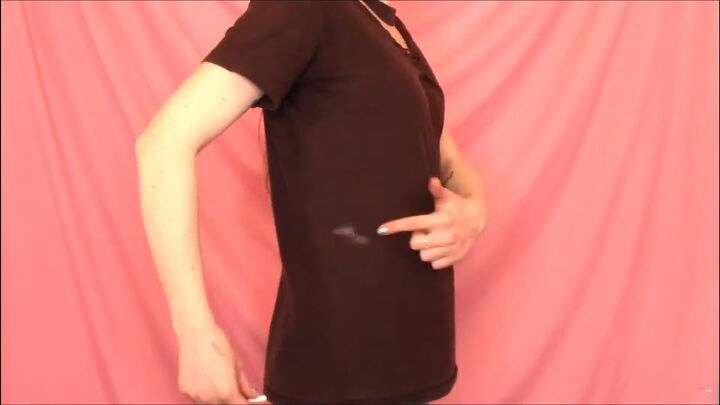
This is the t-shirt before I transformed it into a DIY fringe shirt with knots. As you can see, I already modified the neckline a little bit, but I wanted to take things to the next level.
For some inspiration on changing up t-shirt necklines, read my tutorial on 2 Easy T-Shirt Neckline Cutting Ideas to Make Intricate V-Necks.
1. Prepare the shirt
Pull the t-shirt inside out on your body. Use the chalk to mark your waist on both sides and by your belly button. Take the shirt off and keep it inside out.
Lay the t-shirt on a flat surface and mark the waist area with the ruler going towards the center to keep the line even. I curve slightly lower by my belly button. Cut open the hem to get some extra fabric for the fringe or cut it off altogether.
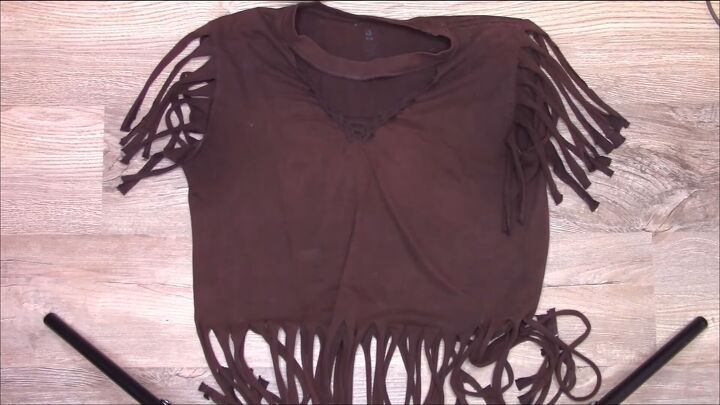
2. Fringe the shirt bottom
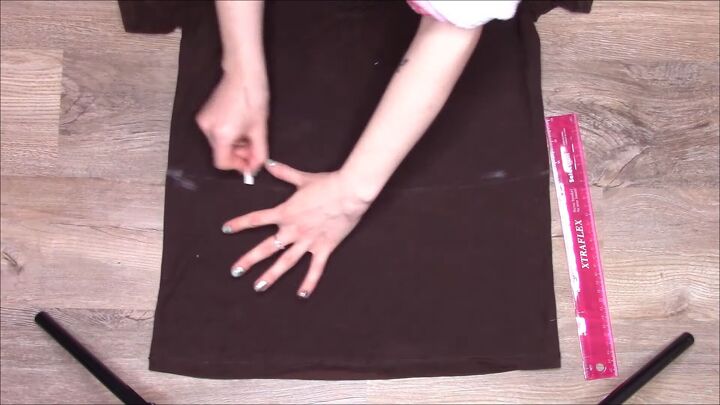
Mark 2cm (1-inch) marks on the bottom of the shirt with a ruler. A thin fabric needs a thicker fringe (3cm or 1¼ inch) and thicker fabric may need a thinner fringe (1.75cm or ¾-inch marks).
Make vertical lines from the bottom marks to the waist mark.
Lay the fabric perfectly flat. To feel more secure, pin the sides together to keep the strips even.
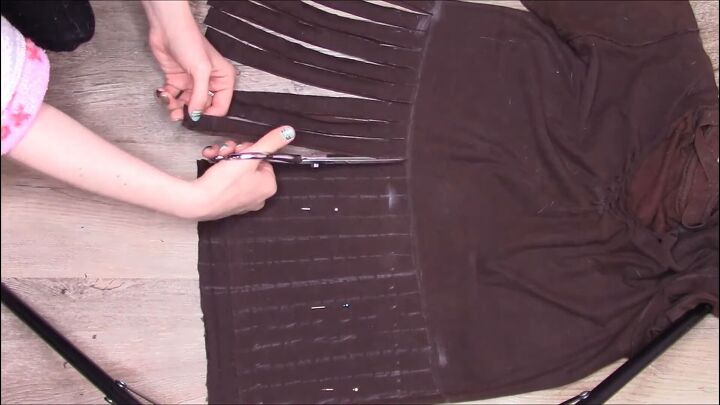
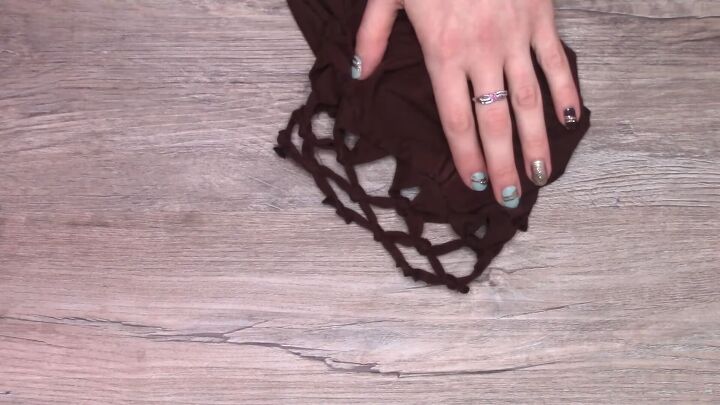
Cut the first strip along the seam side directly by the seam. Some shirts don’t have seams so cut this strip in half to match the width of the other fringes. Do the other seam side. Now cut all the strips. Remove any pins.
As you cut the strips, pull them gently to stretch the fringe. It’s best to do them one by one.
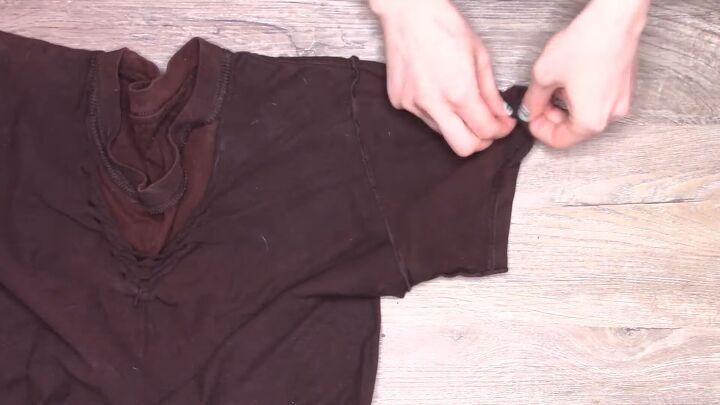
3. Prepare the sleeves
Undo the hem along the sleeves and cut the seam connecting the sleeve to the armpit. Measure 2cm (1-inch) marks at the bottom and mark straight lines up. Pin in place.
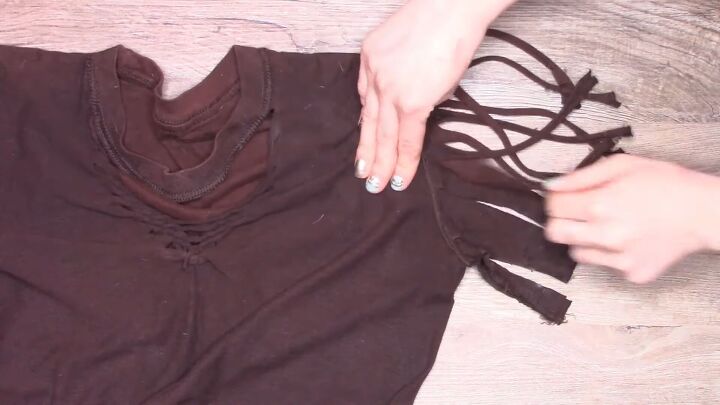
4. Fringe the shirt sleeves
Cut the strips, cutting the top piece of the sleeve down in the center like the shirt sides.
Gently pull and stretch the fringe. If one rips out, remove another one to keep the number of strips even.
Repeat on the other sleeve.
5. DIY macrame t-shirt
You can stop here, or you can create a DIY macrame t-shirt by tying knots in the t-shirt fringe. We'll be using two types of knots: square and overhand knots.
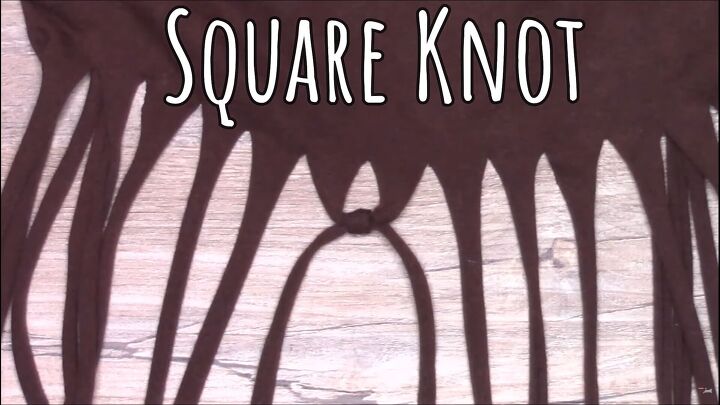
Square knot
Take 2 strips. Fold one over the other and pull it tightly to make a knot. Now take the opposite strip and place it over the other strip and pull through and pull both strips to tighten.
As an example, start with the left over the right, make the knot, and then start with the right over the left. Tighten.
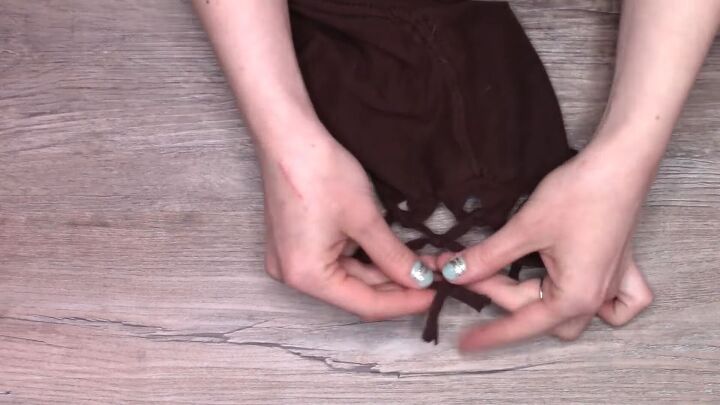
Overhand knot
Gently stretch the strips. Take two of the strips that are right next to each other. Make a loop with the two pieces. Pull the ends through the loop and pull to tighten.
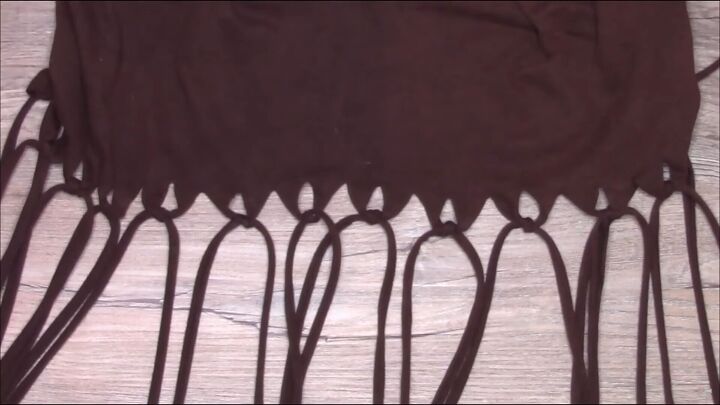
1. Knot the first level
Lay the shirt flat and start with a few fringes. Make the square knot about 2-3cm (1 inch) down from the waistline. Pull to tighten from the inside of the knot. Continue making them all around the shirt at the same level.
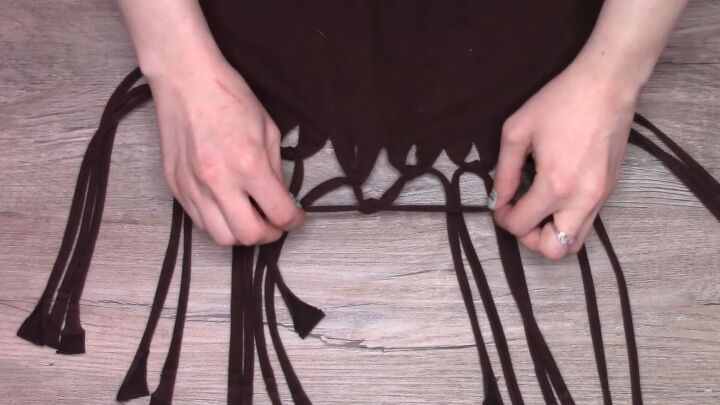
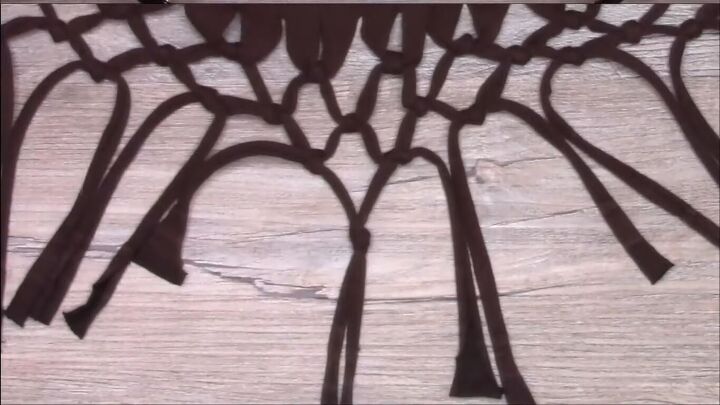
2. Knot the second level
Measure another 2cm (1 inch) down. Alternate the strips and connect the unknotted strips with a square knot. Continue all the way around, keeping the same level.
3. Measure
Measure the strips with the ruler. There should be at least 10cm (4 inches) of open fringe. If there isn’t, stop here. If there is, continue with the third level.
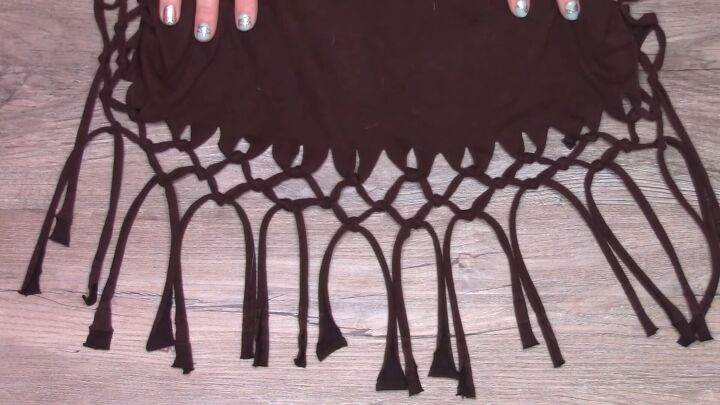
4. Knot the third level
This knot is done on the same strips from the first square knot but using an overhand knot. Center the knot about 2cm (1 inch) down from the second-level knots. This creates a diamond shape.
Grab the strips and gently pull them to make the knot. Tighten only once the knot is in the right place. They will look like tassels.
5. Knot the sleeves
Start with a small section and make the first row of square knots about 2cm (1 inch) down from the top. If there are missing strips, tie the two closest ones where there is a gap. Don’t pull too tightly as they may pull out. It will be shorter than the other strips.
Continue to add square knots until the strips are finished. Make sure all the sleeve knots are super tight. Trim any raggedy ends. Repeat for the other side.
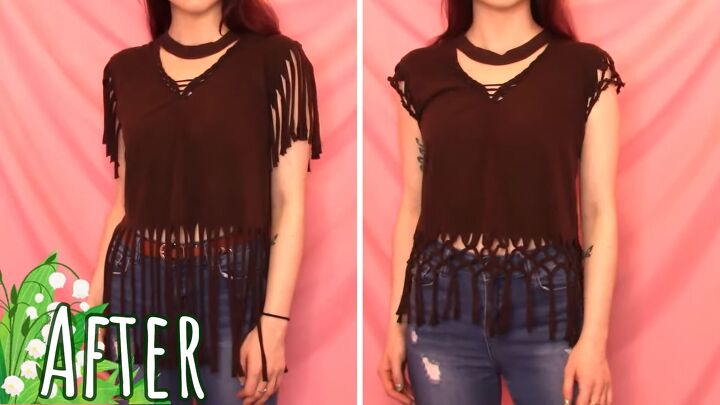
DIY fringe cut t-shirt tutorial
How cute are these shirts! You can dress them up or down for any occasion. Let me know in the comments how much fun it is to make these fun easy wardrobe additions!
The author may collect a small share of sales from the links on this page.


Comments
Join the conversation
Regular Cotten tee or a stretchy fabric one?
Very cute. No mention of how to care for it though. Do you hand wash and line dry so that all that hard work doesn't end up tangled?