Make This Easy & Quick Lounge Top With a Bias Tape Encasing

I love a good loungewear set. It’s comfortable and still makes me look good, even when I’m chilling at home. I also love making two-piece loungewear sets as they are a great ensemble that looks cohesive and put together. In this tutorial, I’ll show you how to make a lounge top, and you can find my loungewear shorts tutorial here. This women’s lounge top is really awesome as it’s a little oversized and has a great tie in the front- just to give it that extra edge. Ok, let’s get to it!
Tools and materials:
- Stretch knit fabric
- T-shirt for pattern
- Sewing machine
- Thread
- Pins
- Bias tape
- Scissors
- Ruler
Make the pattern
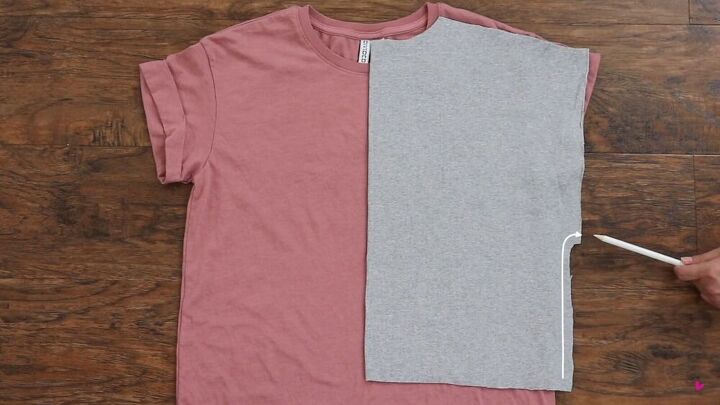
Let’s start with the back. Use a square-shaped shirt for this.
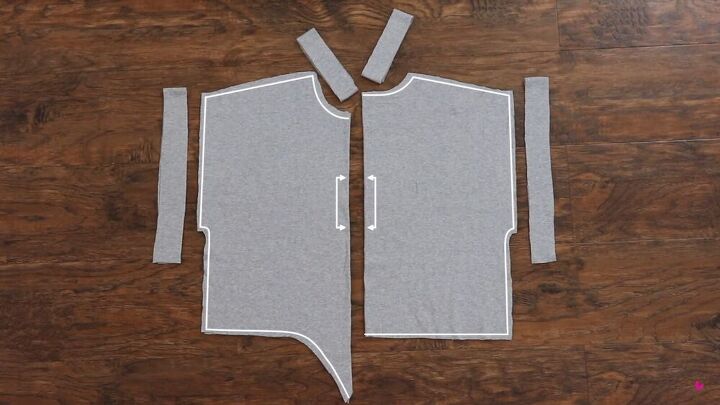
To create a box shape, extend the width with a slight curve. Then, blend the sleeve into the shoulder.

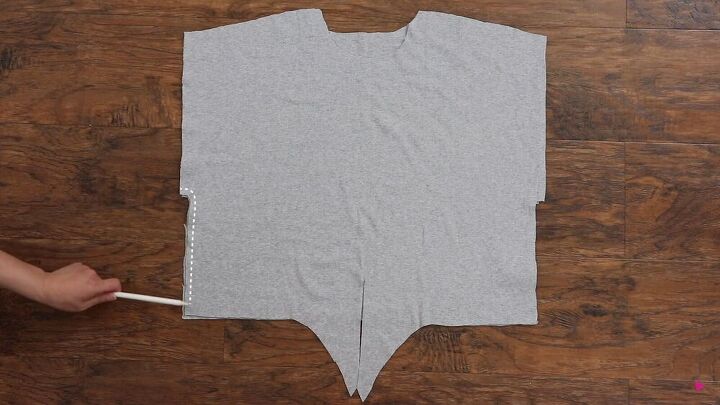
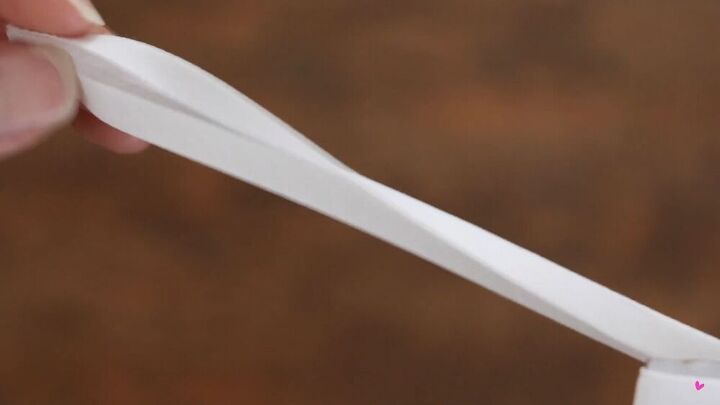
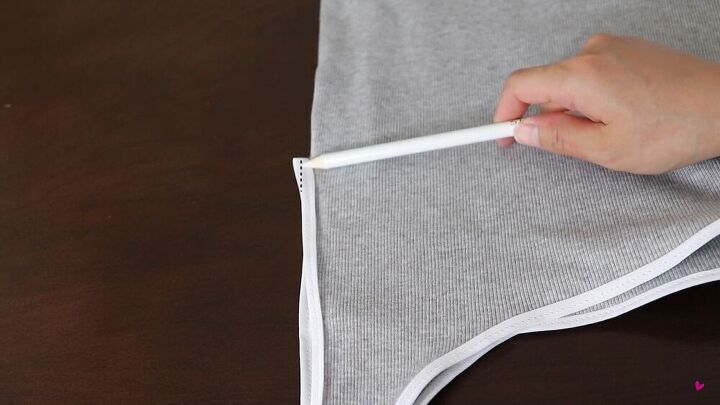
For the front piece, curve the hemline down towards the center. Snip vertically in half to create the tails for the knot.
When cutting out the pattern, add a half-inch seam allowance. Also, make sure the fabric is on the fold.
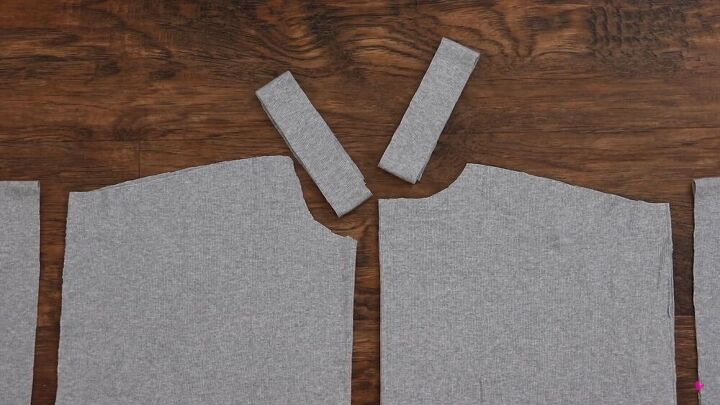
Cut out one-inch strips for the raw edges of the sleeves and the neckline. The neckband should be one inch smaller than the total circumference of the neck.
Assemble to top
Now go ahead and lay the front bodice on the back bodice, right sides facing. Pin the side seams and sew. Also, pin the shoulder seams and sew.

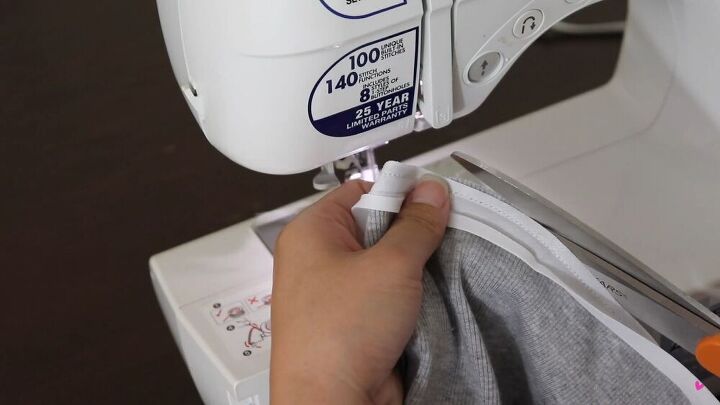
Sew the short ends of the neckband together and fold it in half.
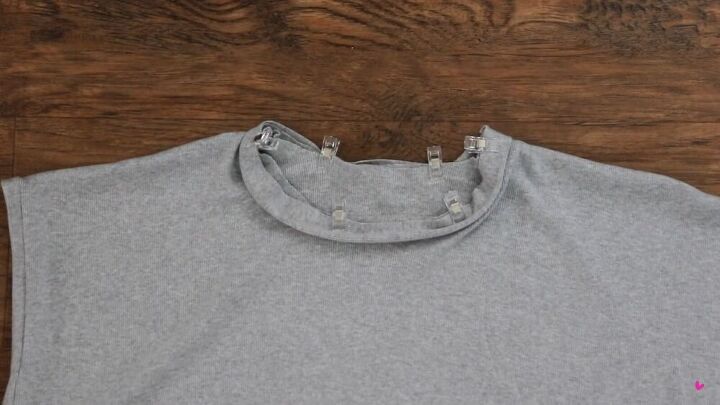
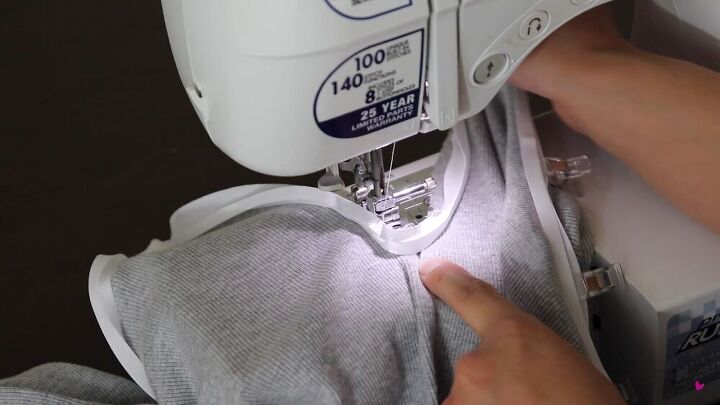
Attach the band to the raw edges. Pin it all around the circumference.
Also, attach the bands to the outer sleeve’s seams. Sew the band with a simple straight line.
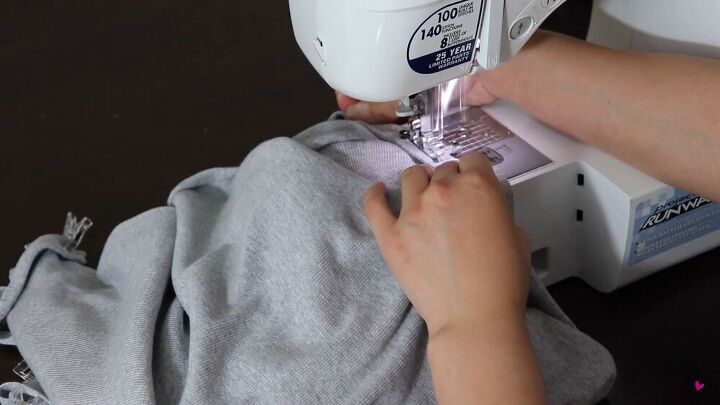
When sewing the neckband to the neckline, be sure to stretch it as it’s a little smaller than the circumference of the neck hole.
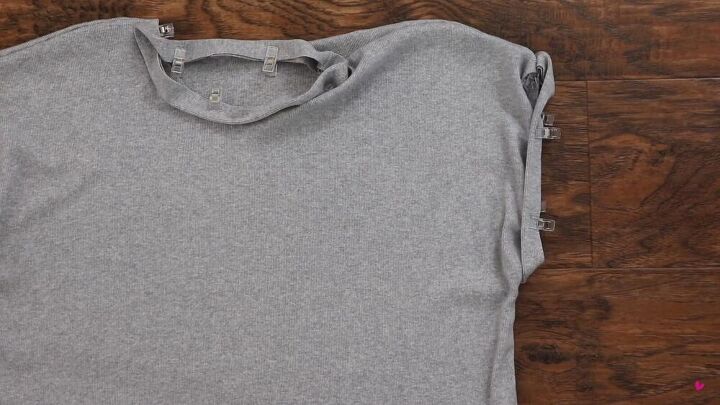
It’s time to finish off the neckline; the seam should be folded towards the shirt line. Also, be sure to topstitch.
Add the bias tape
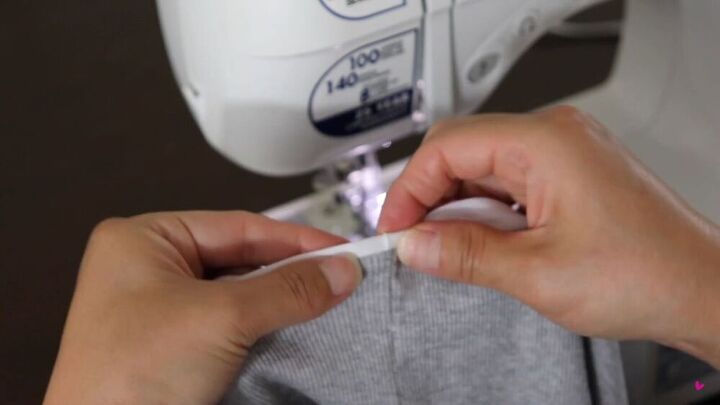
Now it’s time to add the bias tape to the hemline. Here, I’m using a ¼ inch double-folded bias tape. The top fold is a little bit shorter than the bottom.
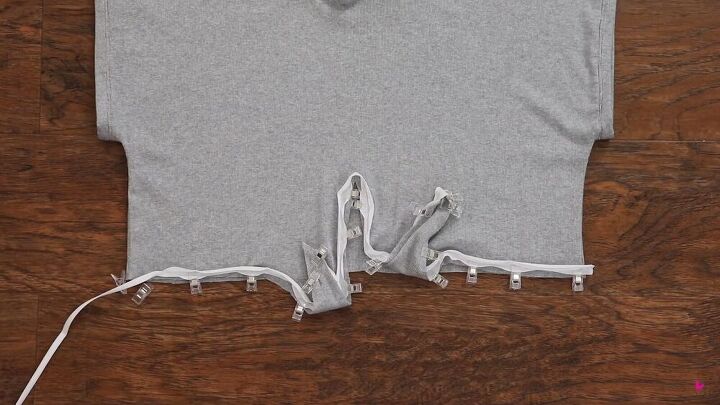
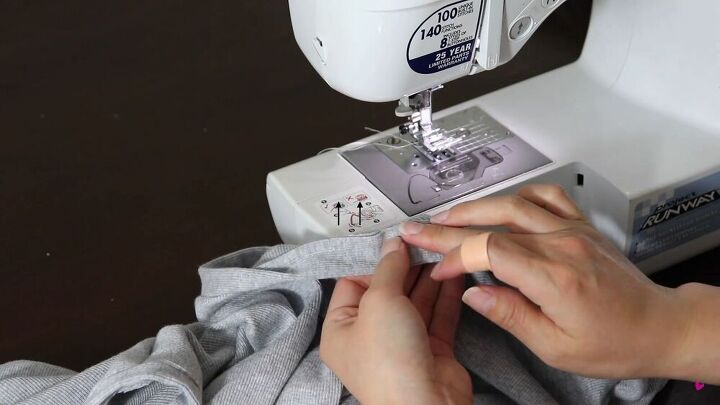
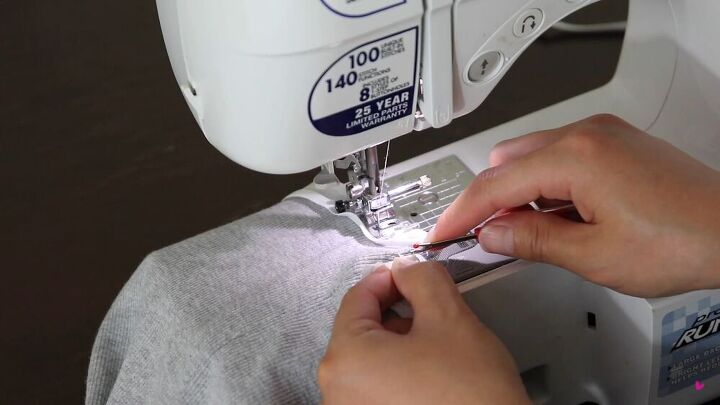
You’re now going to sew the bias tape on the raw edges. With right sides facing together, line the shorter fold against the edge of the shirt and pin all around as shown.
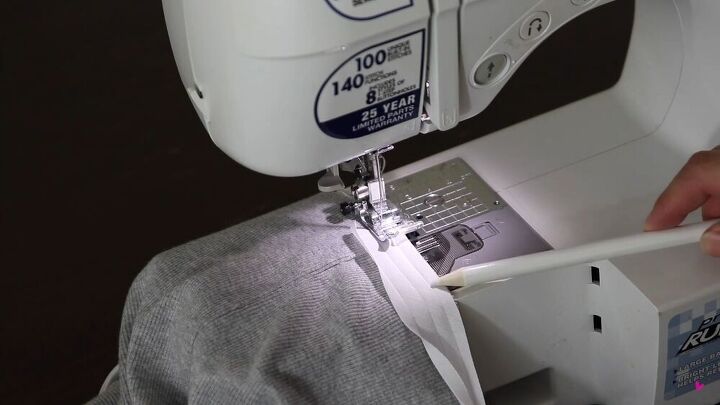
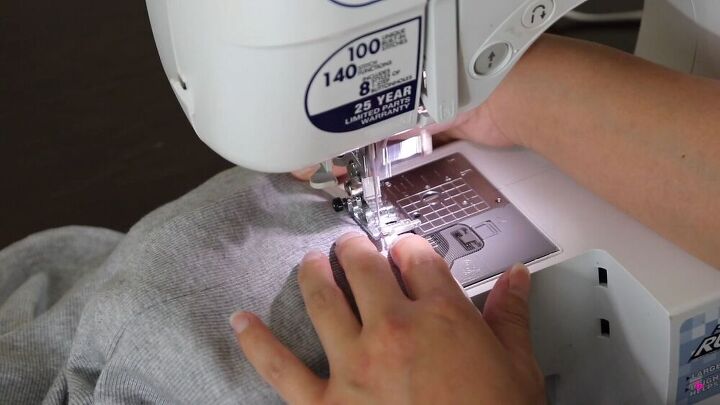
Open up the tape and sew along the first folded line. Try not to stretch the shirt while sewing,
At the bottom of the tail, stop a quarter-inch above the tip. You will need to form a triangular shape here. Carefully lay it over, bringing the bias tape down around the curve. Smooth down everything before stitching. You can see exactly how I did this at 2:41 minutes.
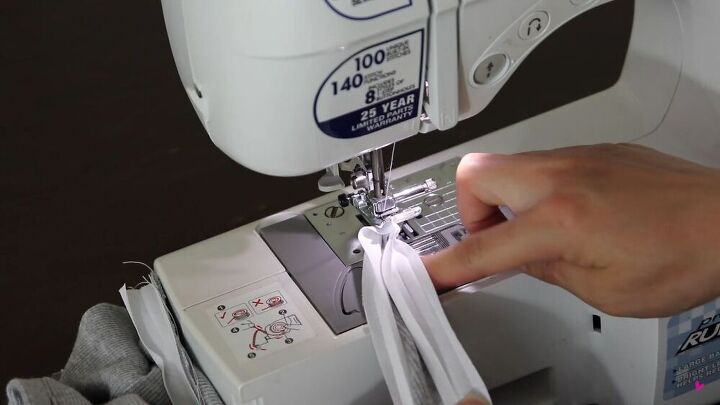
At the inner corner between the two tails, try to stitch over it as you sew.
When you get to the end of the run, fold the starting end inwards, remove any stitches if needed, and sew the end of the bias tape right over the fold, as shown. See my video at 3:34 minutes to see this in action.
Snip off any extra fabric on the edges; this will reduce bulging and make the edges look neat. This is especially crucial along the ends of the tails.
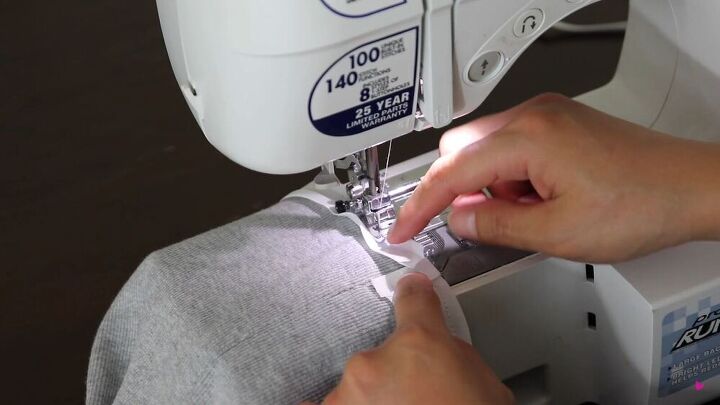
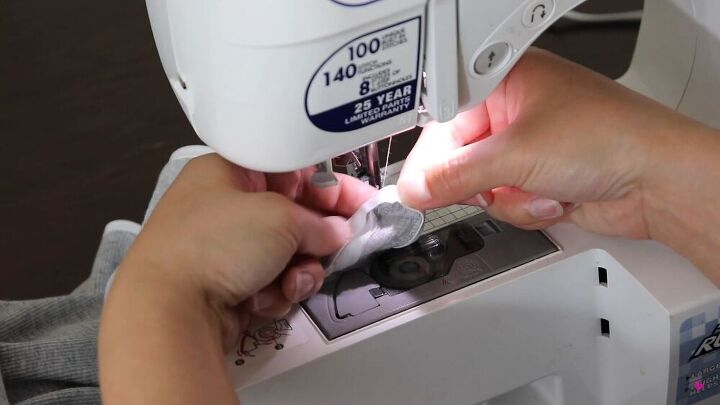
Now, lift the bias tape up and twice over the fold onto the wrong side of the shirt. So it will be placed inside, on the first borderline.
Then, stitch along the fold. Make sure to smooth out the fabric and catch both sides of the bias tape while stitching.
When you get to the corner, fold the bias tape in on itself as shown and stitch. Also, you can hand sew this section if it’s easier. You should now have all the raw edges encased by the bias tape.
Now, fold your top in half, and sew a straight line down the top curve of the bias tape, as shown. This will create a smooth v-shape between the tails.
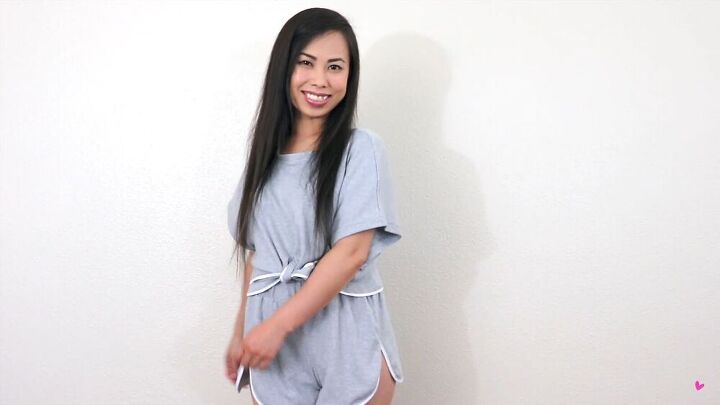
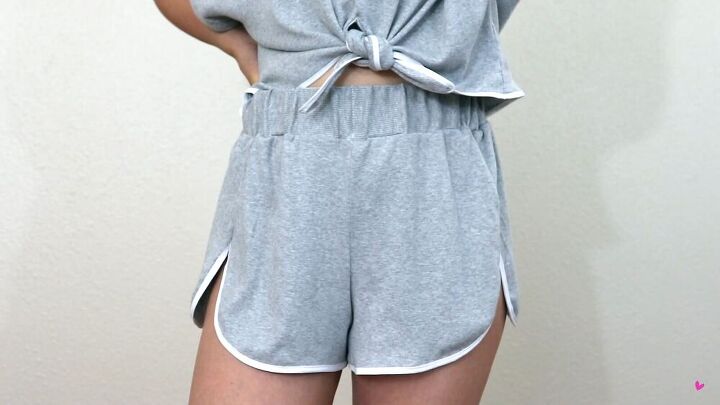
That’s it. We are done! You now know how easy it is to sew a lounge top. It honestly looks like I bought this two-piece lounge set straight out of a store. I love the bias trimming and the cute knot in the front; it really makes for a unique women’s lounge top. Remember, you can complete this set by making the shorts, too. To see the lounge shorts tutorial, click here.
The author may collect a small share of sales from the links on this page.


Comments
Join the conversation
Kudos, and well done!! 👍️👍️👍️
It looks like the sleeves are much longer in the final pictures. Did you add length somewhere?