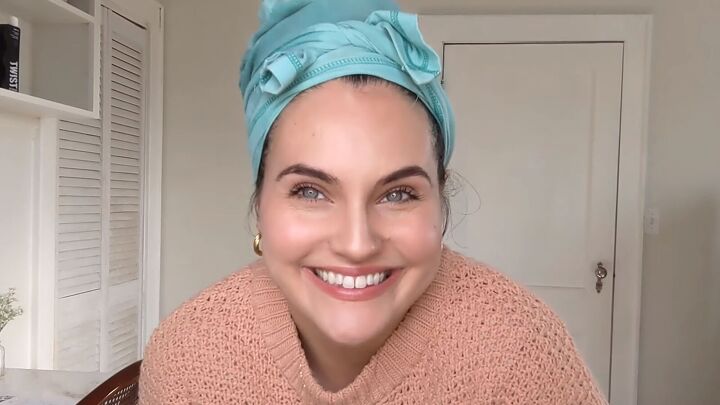
How to Damp Style Curly Hair: Wet & Wavy Hairstyling

Want the curls without the frizz? In this wet and wavy hairstyling tutorial, I'll be showing you how to damp style your waves or curls.
Damp styling is great for significantly decreasing dry time and decreasing the amount of product that you use when styling. I hope you love damp styling your curly hair or wavy hair as much as I do!
Tools and materials:
- Shampoo
- Conditioner
- Styling gel
- T-shirt towel
- Claw clip
1. Wash your hair
First, shampoo your hair with an ultra-hydrating curly-friendly shampoo. Make sure you’re really massaging it in to get that clean that you need. Also, when you rinse your hair, massage your scalp to get all the shampoo out.
2. Apply conditioner
Like the shampoo, I highly recommend using a thick, curly hair-friendly conditioner.
Tip: Get a conditioner with a ton of slip; it’ll be easier to detangle your hair.
Apply it to the length of your hair, not your scalp. Smooth it over and scrunch it in.
Next, split your hair into two sections and apply a bit more conditioner to each.
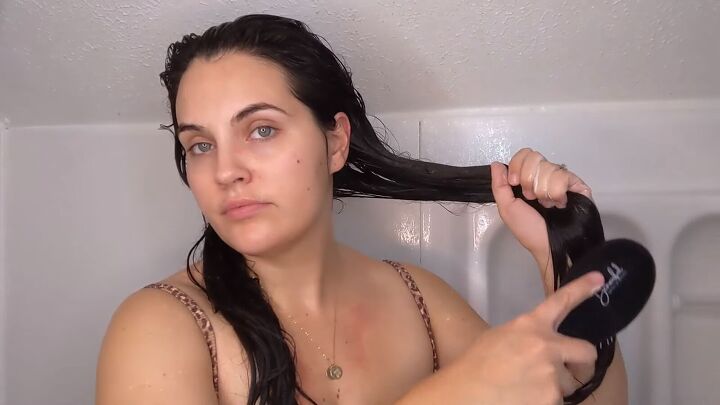
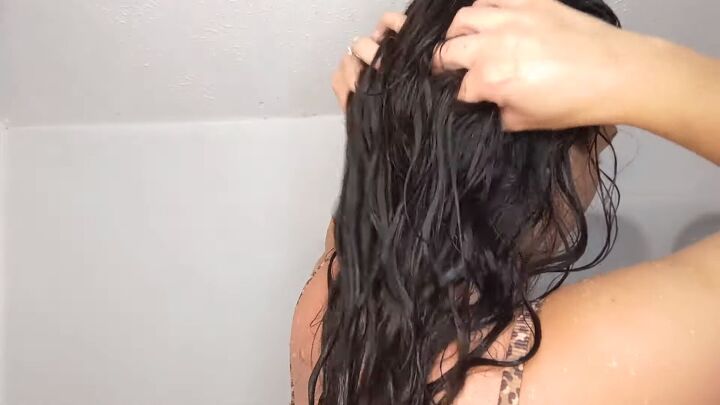
3. Detangle
While you still have conditioner in your hair, go ahead and detangle each section.
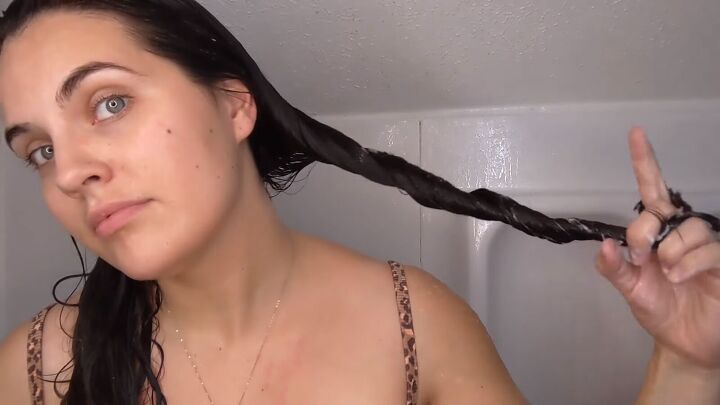
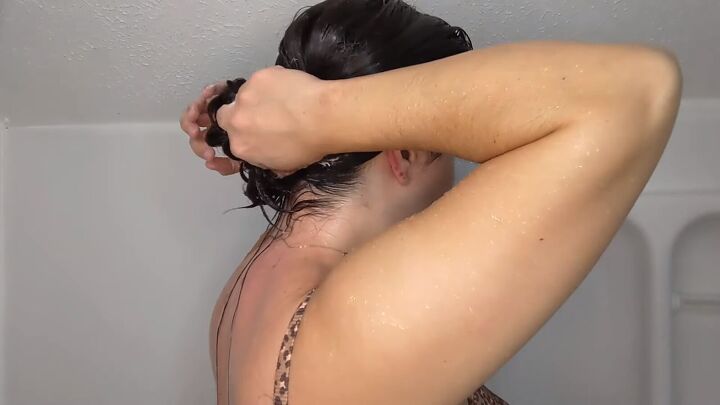
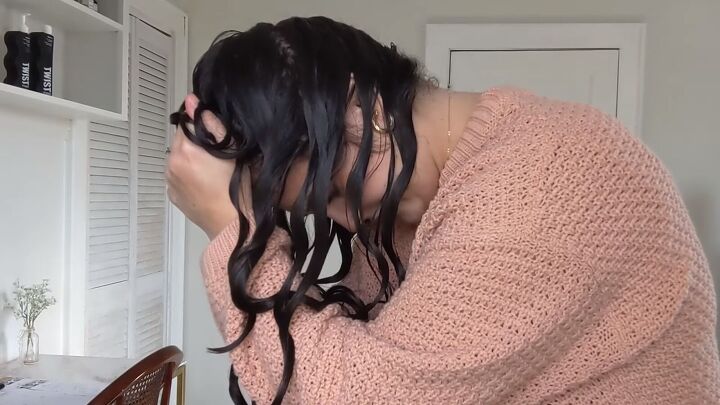
4. Twist each section
I like to twist each section, as shown. Can you see all that white conditioner? That tells me there’s enough for my hair!
Now, repeat the process on the other side.
Twist your hair up and clip it in place. Continue with the rest of your shower routine. This will give the conditioner time to seep in and work its magic!
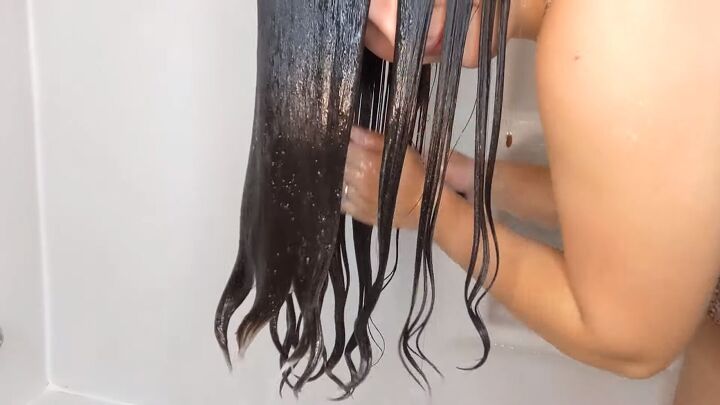
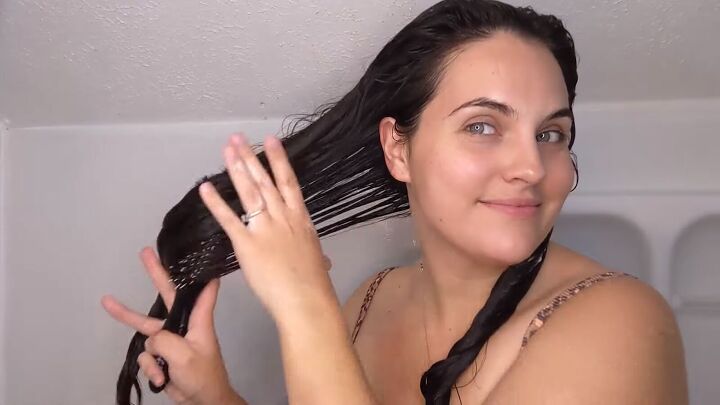
5. Rinse the conditioner
Flip your hair over and brush it out before rinsing. Your hair should be super smooth before rinsing out the conditioner. This step is crucial as it will define your curls.
If you want smaller, more defined curls, you will have to rake your hair. If you want a wet and wavy hairstyle with bigger curls, I suggest you smoothen out your hair.
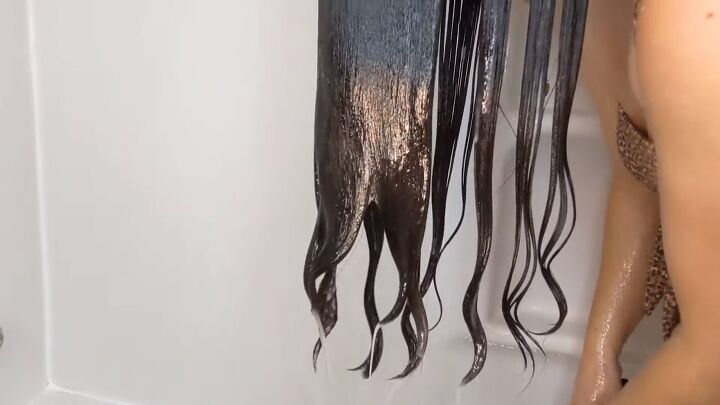
Rinse your hair briefly; you want to leave some of that conditioner in your hair. This will serve as a leave-in conditioner. Also, be sure to use cold water.
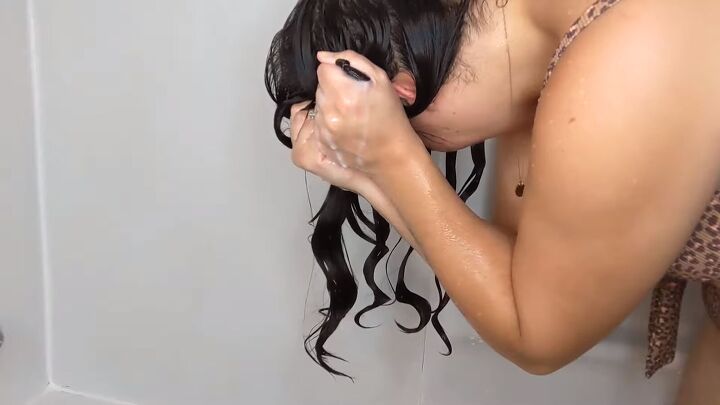
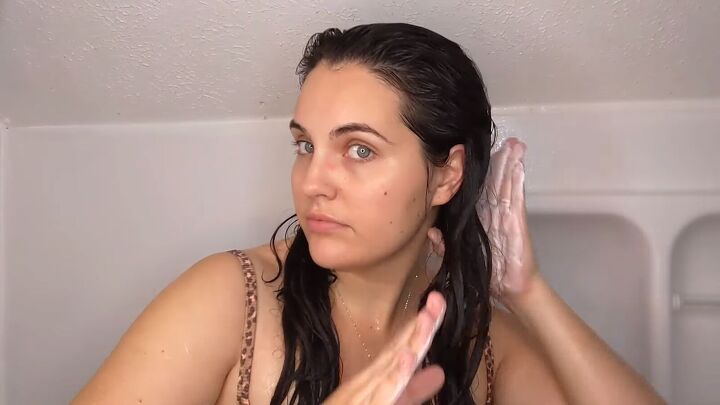
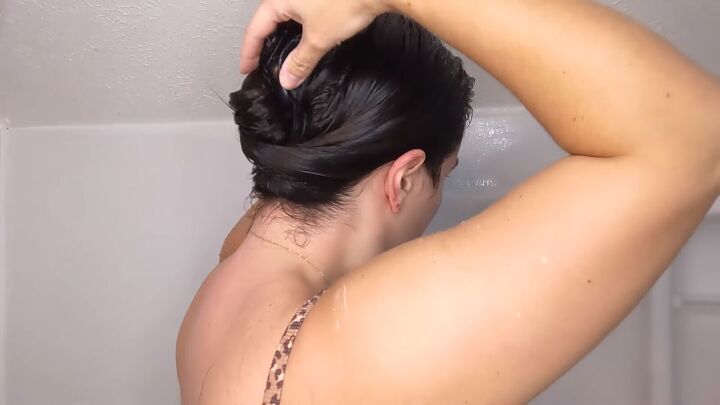
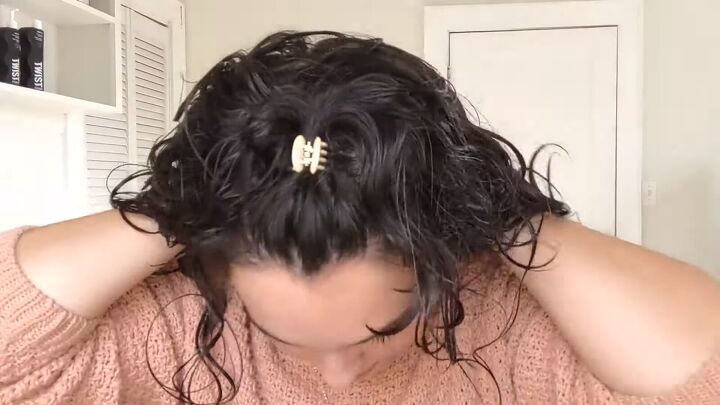
6. Scrunch your hair
Turn off the water and start scrunching your hair, as shown. Gently bring your hair up to your scalp and squeeze out the water. When you squeeze, there should be some white coming out; that’s the rest of the conditioner in your hair.
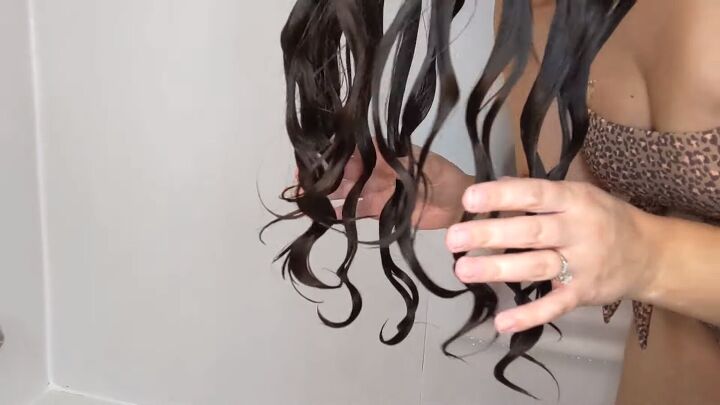
Keep scrunching your hair until no water comes out. Here are the cute little curl clumps!
7. Plop your hair
Now, plop your hair for roughly 30 minutes. See my previous tutorial on plopping curly hair for more information.

After 30 minutes, remove the plop. I like to leave mine in long enough, so I have time to get dressed and apply makeup.
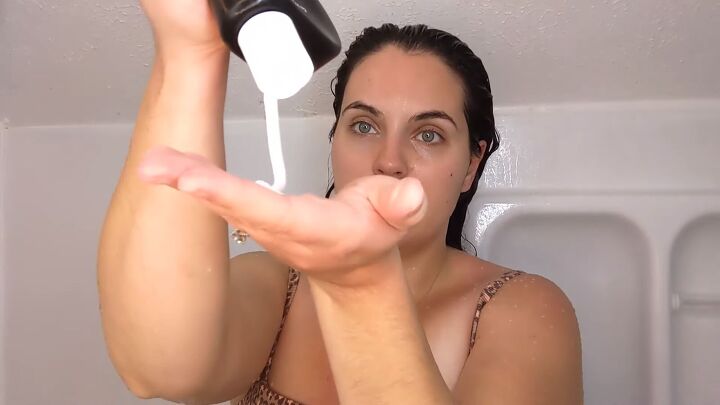
8. Apply gel
Apply a lightweight styling gel to your hair. I use a quarter size and scrunch it in gently.
The great thing about damp styling and applying gel at this stage is that it cuts down on drying time. Your hair will dry quicker than if you applied the same product to soaking wet hair.

Flip your head over to one side. Run your fingers through your hair, from the roots down. This will ensure there’s no hair sticking to your scalp.

Apply a quarter size of gel to your hair again, using the scrunching method just as I showed above.

Flip your head over to the other side and do the same.
Tip: Don’t be too rough with the scrunching; it will cause frizz. If you have frizz in some areas, simply smooth it over with gel, then scrunch.

With your t-shirt towel, scrunch out the last of the moisture that your hair is holding onto.
9. Air dry
Clip the top of your hair with a little claw clip. This will give your hair some volume. Let your hair air dry to see the final results.

Wet and wavy hairstyling tutorial
Here are the results! My waves are super-voluminous without the frizz. Styling hair when wet is the best way to get those beautiful curl clumps with definition and much-needed moisture.
What did you think of this tutorial on how to style wet hair? Let me know in the comments if you do decide to do it yourself; I’d love to hear your feedback.
Products used:
The author may collect a small share of sales from the links on this page.


Comments
Join the conversation