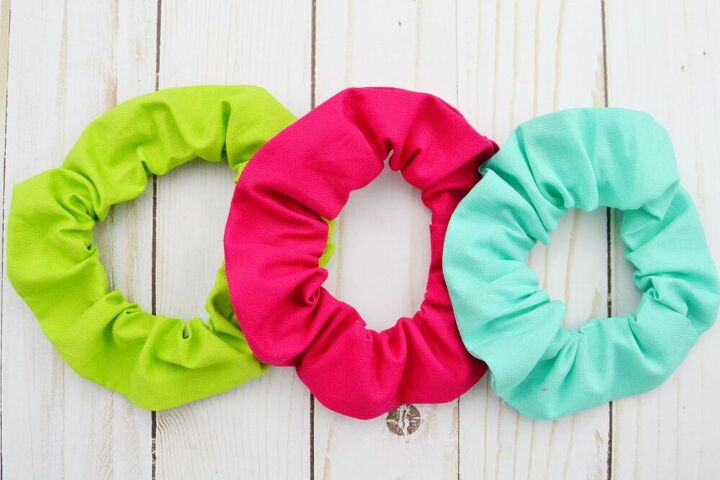
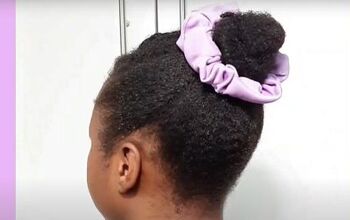
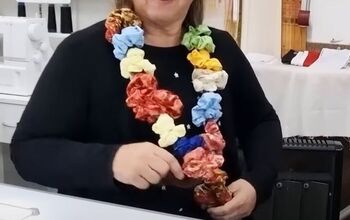
How to Sew a Scrunchie

Learn how to easily sew a scrunchie with this simple sewing tutorial.
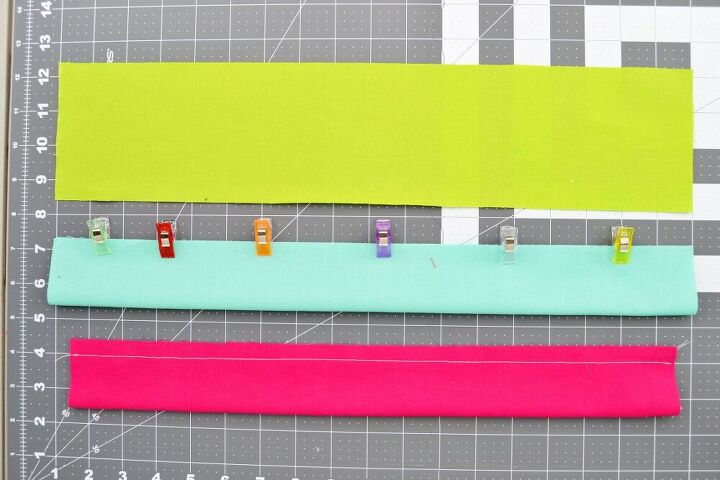
For each scrunchie you will need to cut a piece of fabric measuring 4 in X 18 in and a piece of elastic measuring 10 inches. Fold the piece of fabric in half length-wise with the right sides together. Pin or clip it so that it holds itself in place. Sew along the open edge, sewing about 1/2 inch from the edge.
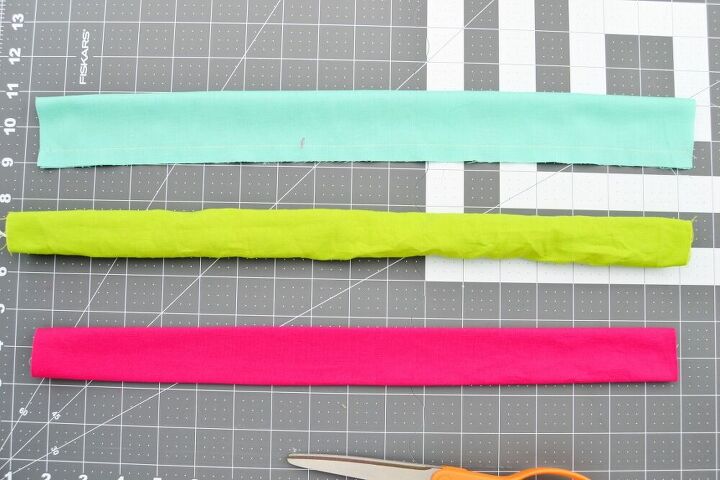
Turn the tube you just sewed right side out. It will probably get pretty crumpled with the turning process so give it a little press.
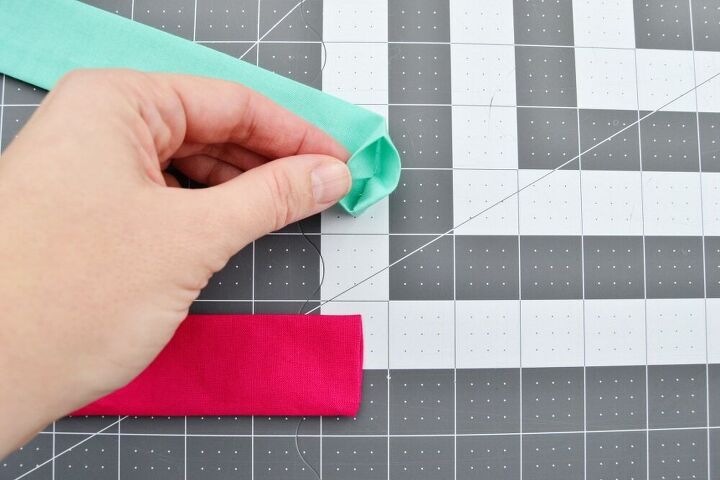
Tuck one end of the tube to the inside and press.
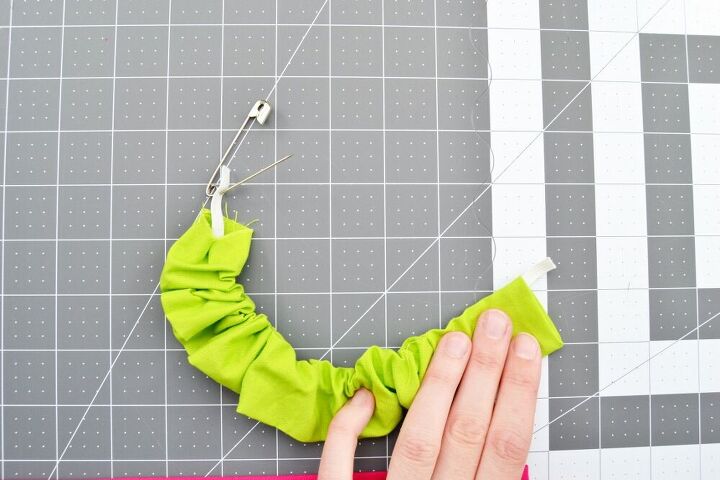
Attach your safety pin to one end of your piece of elastic. Pull the pin through the tube.
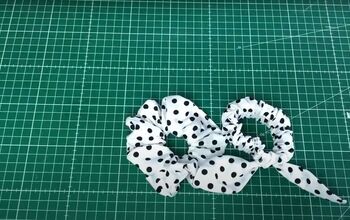
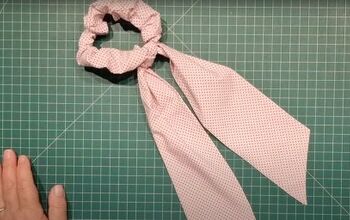
Curve the tube around so that both ends of your elastic overlap by about an inch. Clip or pin them together then sew them together, going back and forth with a zigzag stitch a few times to make sure it’s strong.
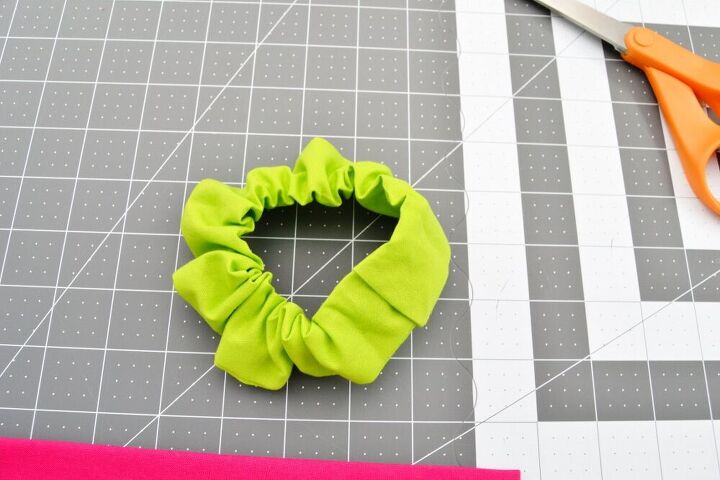
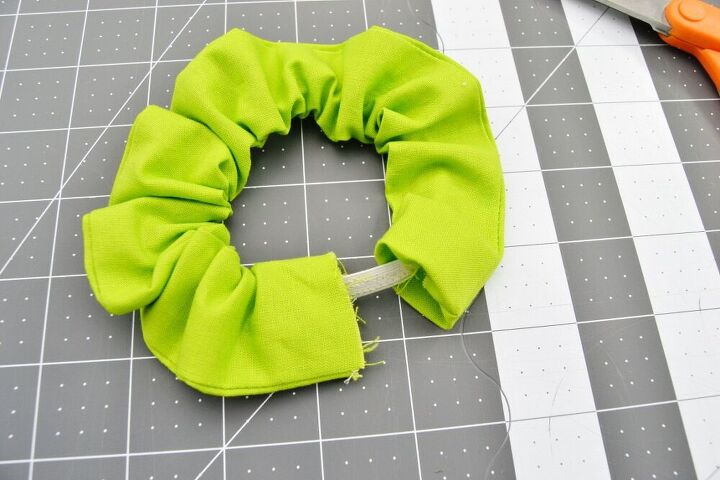
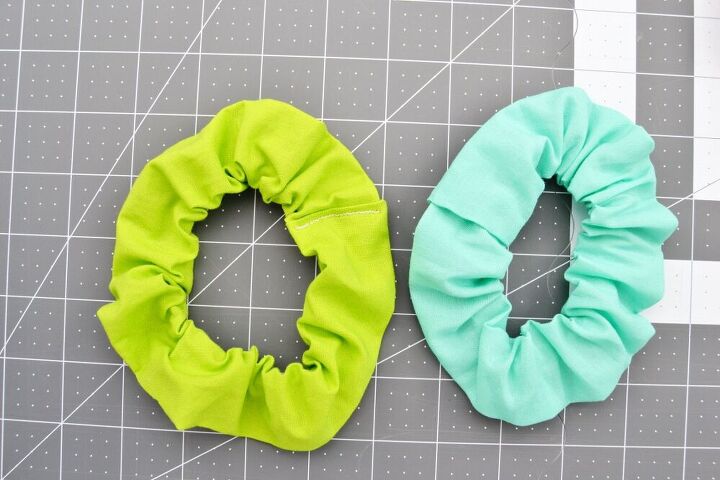
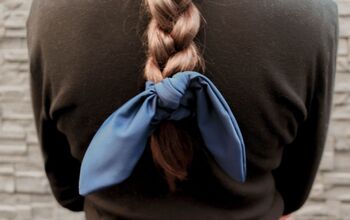
Then insert one of the ends of the tube into the other end. Use your hand sewing needle and some thread to sew the two ends of the tube together, all the way around. I did this with the blue one and pink one. You can’t see the stitches because of the fold of fabric on the end of the tube that I tucked under.
Alternately you could just do this with your sewing machine like I did with the green one but you’ll be able to see it.
The author may collect a small share of sales from the links on this page.


Comments
Join the conversation