DIY Choker - 4 Stylish & Quick Ways

Chokers are one accessory that never really goes out of style! You can make your very own DIY choker with your own stamp of uniqueness. I will be showing you four choker styles so that you can make a DIY choker that suits you and your style! Ready to start this DIY choker tutorial?
Tools and materials:
- Flash tattoos
- Ribbon
- Braiding cord
- Paintbrush
- Super glue
- Mod podge
- Charms
- Lobster clasps
- Jump rings
- Chains
- Clamps
- Pliers
- Scissors
Flash Tattoo Choker
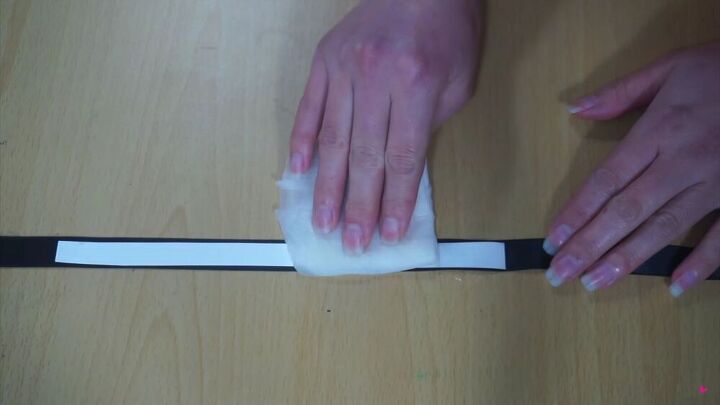
Transfer the tattoo
Take a flash tattoo of your choice and transfer it to a piece of ribbon that is a little longer than the circumference of your neck.
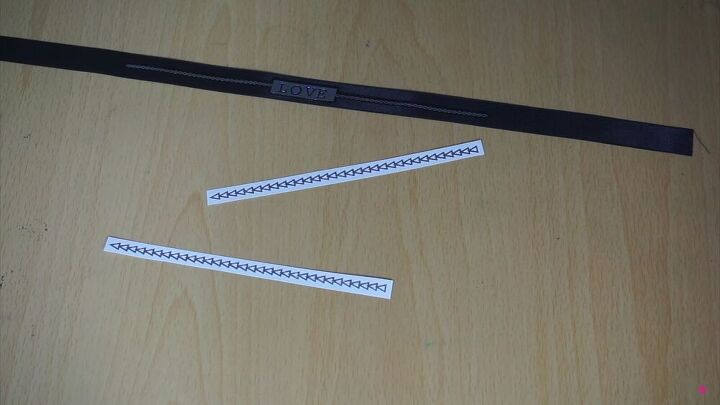
If needed, extend the design by adding more flash tattoos.
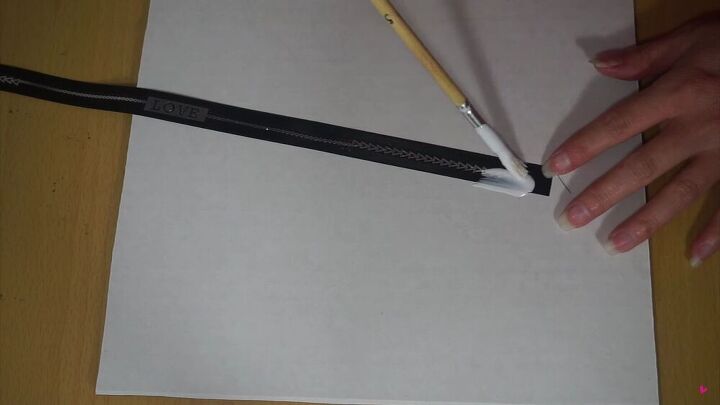
Add the mod podge
Allow the water to dry, and seal the design by dabbing on some matte mod podge with a paintbrush. The mod podge should dry clear and add some structure to the ribbon.
TIP-
Brush away any excess mod podge to create a thin layer.
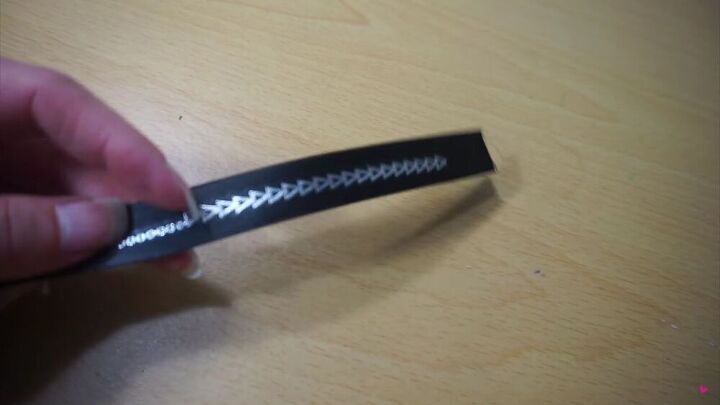
Then, allow your choker to dry overnight or give it a few good hours.
Assemble the DIY choker
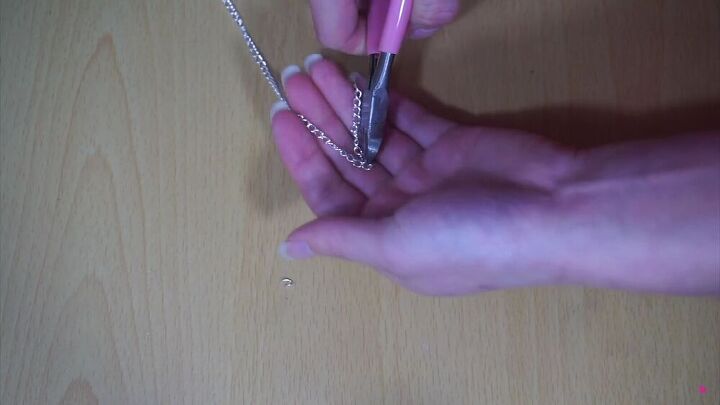
Measure a 2-inch chain, cut, and attach it to the jewelry clamp with a jump ring.
TIP-
When opening the jump ring with your pliers, make sure to pull one end away from you and the other towards you.
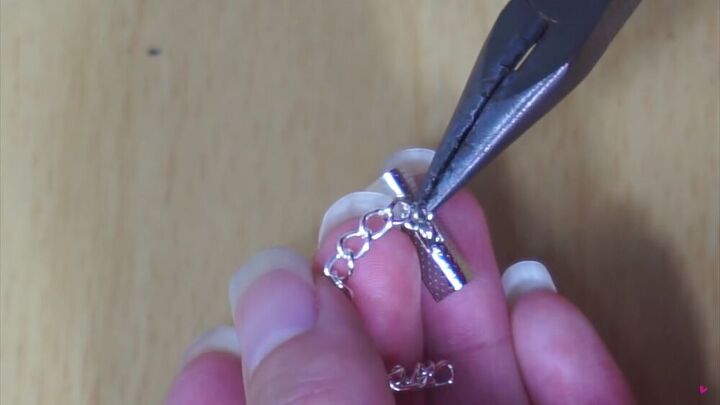
Repeat to attach the lobster clasp
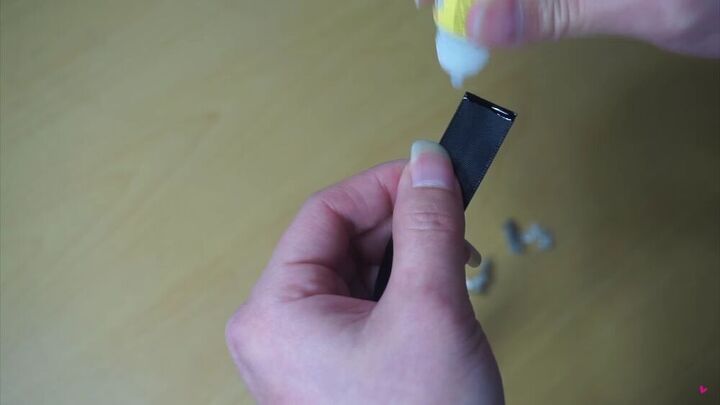
Add a fine layer of super glue to the end of the ribbon and slide the ribbon in between your clamp.
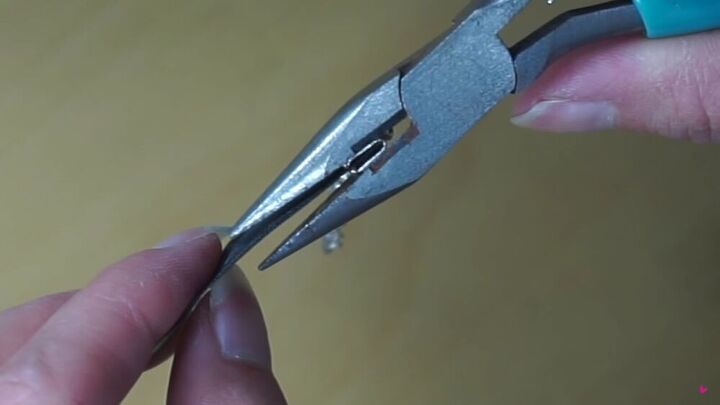
Using the inside edge of the pliers, clamp down on the clamp until it's got a tight grasp on the ribbon. Do the same for the other end.

This is a lovely DIY choker with a cute personal touch, don't you think?
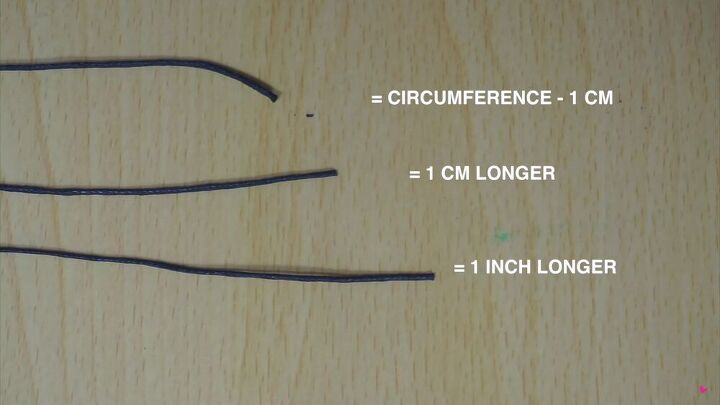
Layered Choker
Measure and cut the braiding cords
Measure three braided cords following the measurements as shown in the image.
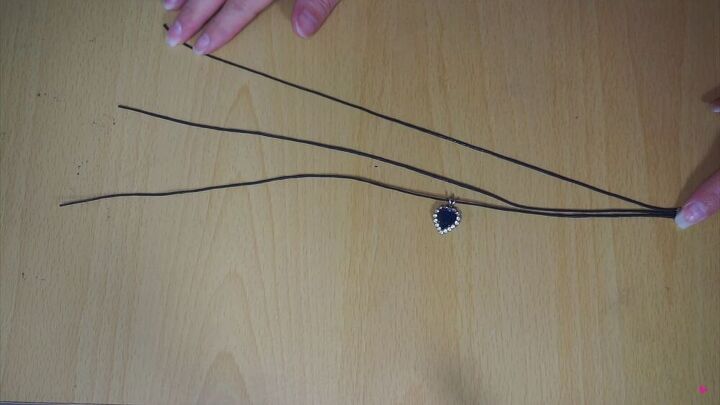
Attach a charm
Attach a charm to the longest cord and make sure you have the shortest chord on top and the longest at the bottom.
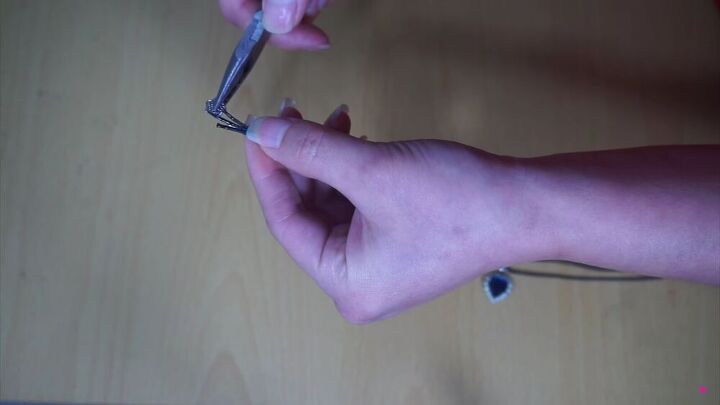
Attach the clamps
Now, super glue the cords' ends together and attach the clamps on either side, accordingly.
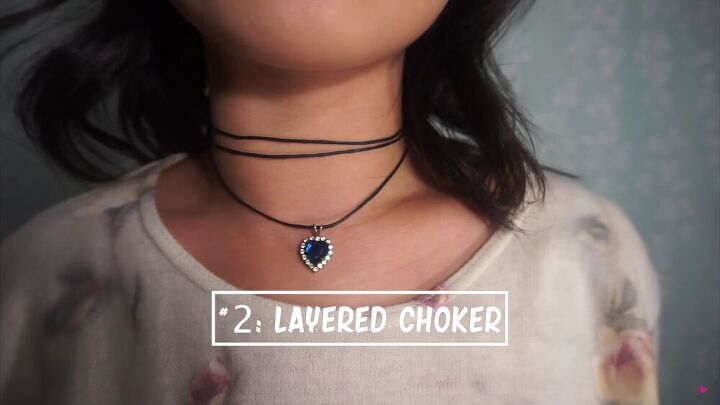
And… that's it! So simple and so elegant! I love how it fits snug around my neck, and it definitely goes well with just about any outfit.
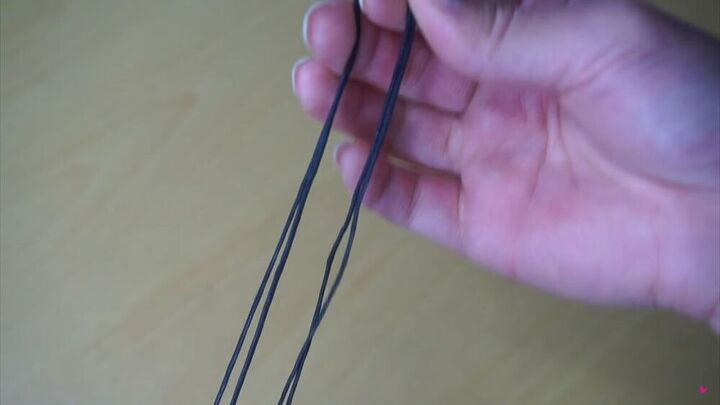
Double studded choker
Cut two cords
Cut two chords of identical length.
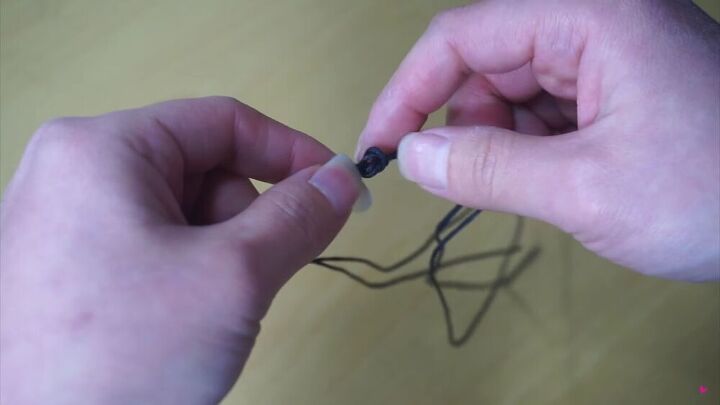
Make a knot
Make a loose knot in the center of the cord and thread one stud on either side of it.

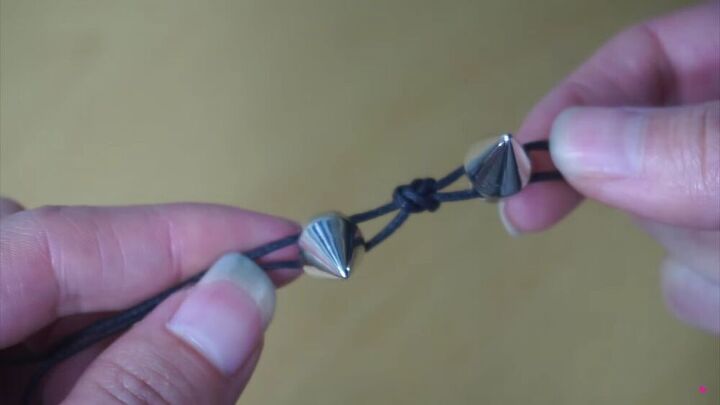
Attach a charm
Choose a cute charm to attach to the middle knot. Finish off the studded DIY choker with clamps on either end of the cords.
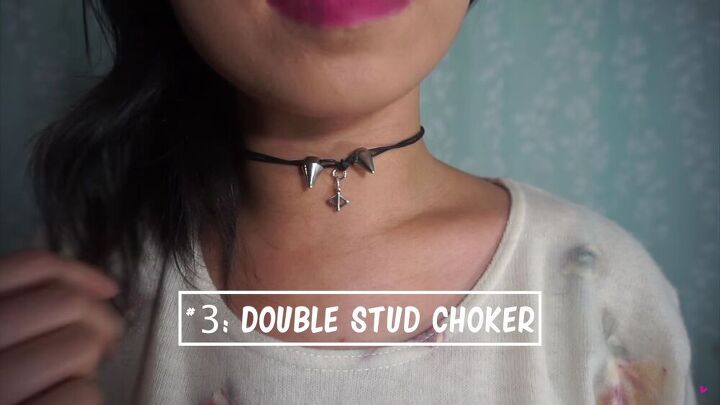
This studded DIY choker seriously gives off a rocker vibe, and I think it's so unique, too.
Mock wrap choker
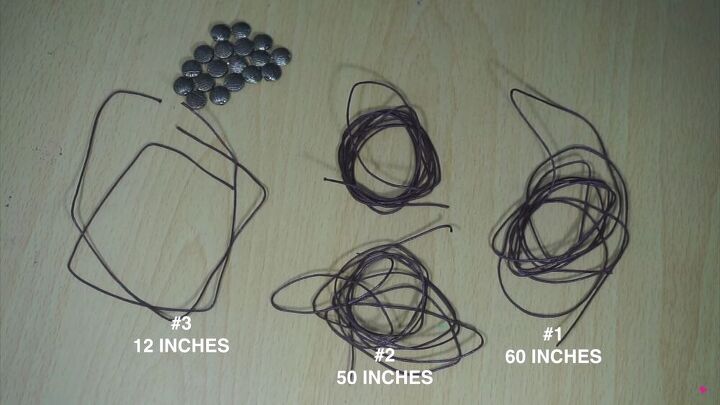
Cut four cords
Cut four cords according to the measurements as shown above. Also, take out some medium-weight beads.
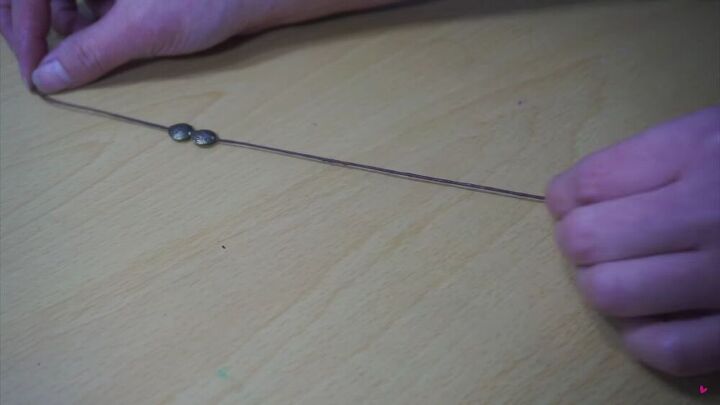
Thread the beads through the first cord.
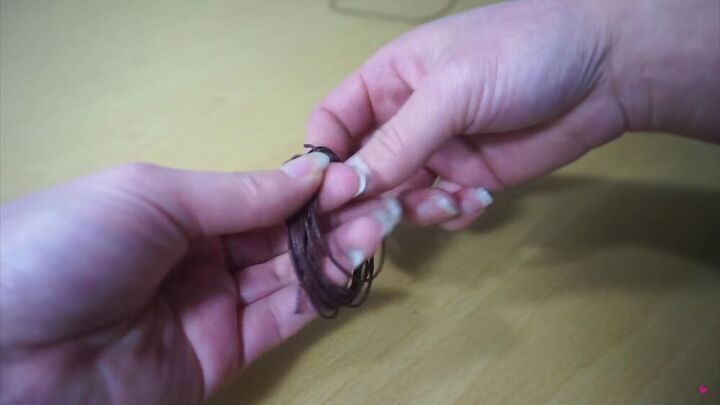
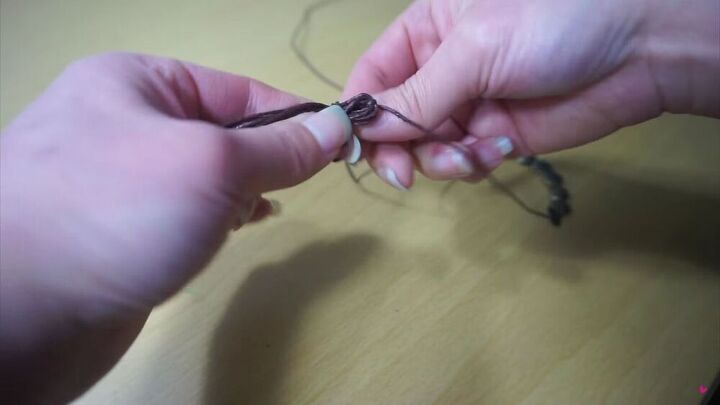
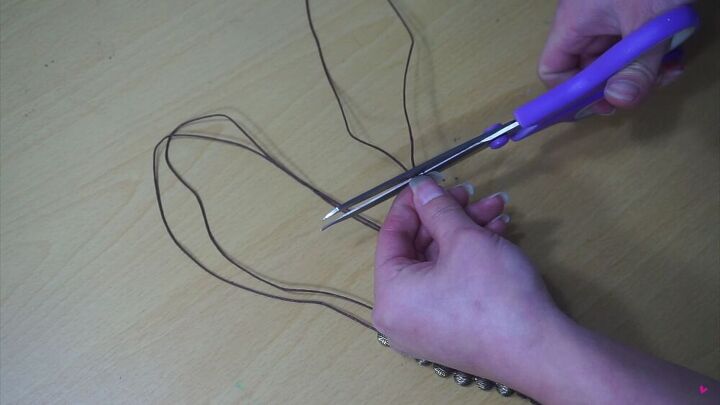
Create the tassels by wrapping the second cord around four fingers.
Then, tie the bundle using the end of cord number one.
TIP-
Leave the tail long enough to blend in with the tassel.
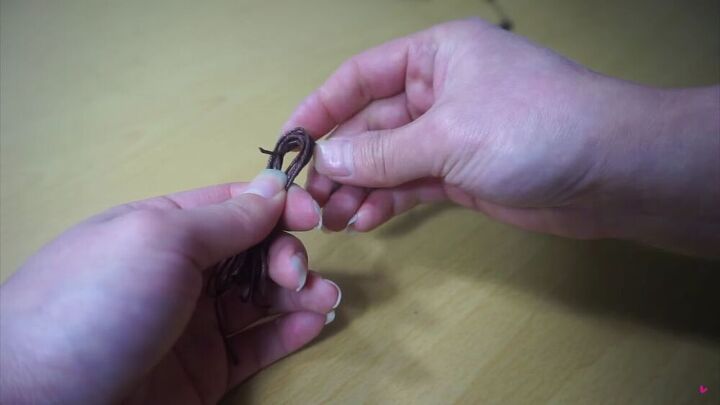
Wrap cord number 3 in half and wrap it entirely around the head of the tassel. When doing this, make sure to leave the loop exposed.
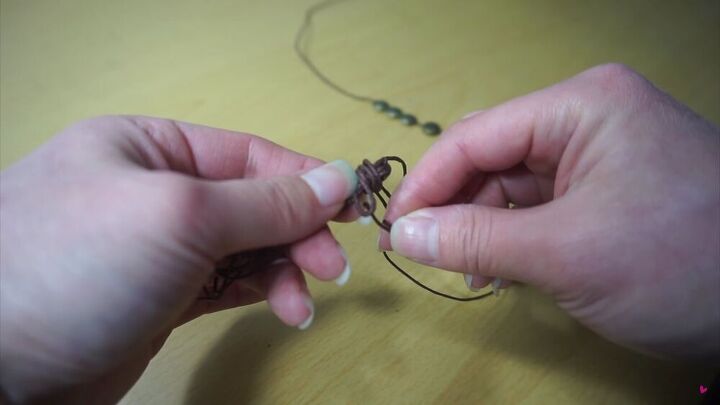
Pass the remaining cord through the loop, tighten, and make sure the end blends in with the tassel as well.
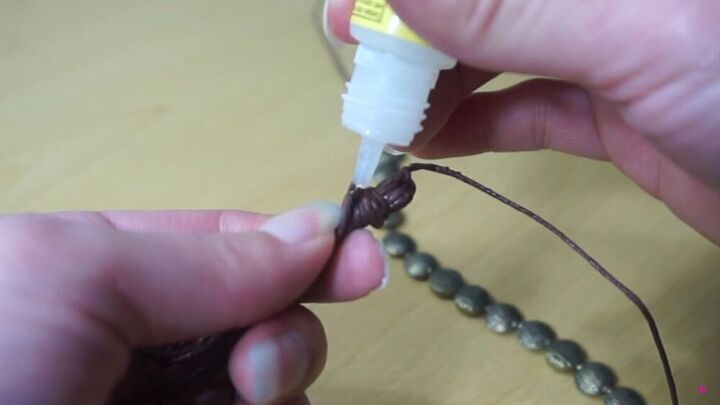
Apply a blob of super glue on the knot to secure it in place.
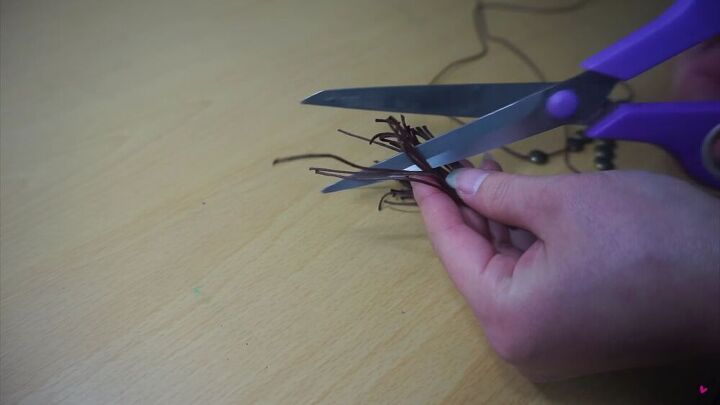
Then, cut and trim to even out the tassel.
For safety reasons, It's best to modify the cord a little so fold the whole cord in half and cut off a loop that's ½ an inch shorter than the circumference of your neck.
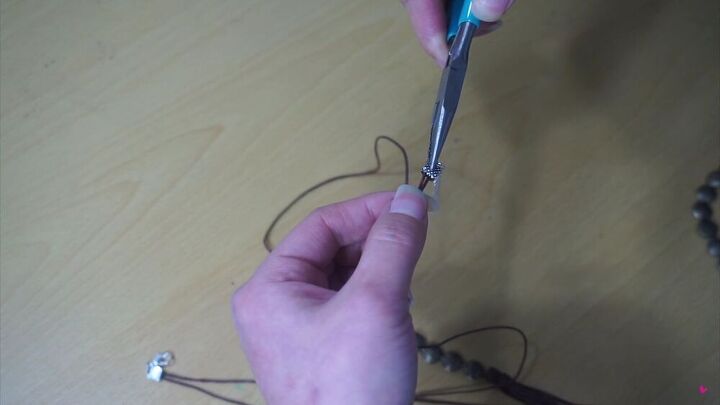
Then, attach the clamps, and your DIY choker is complete!
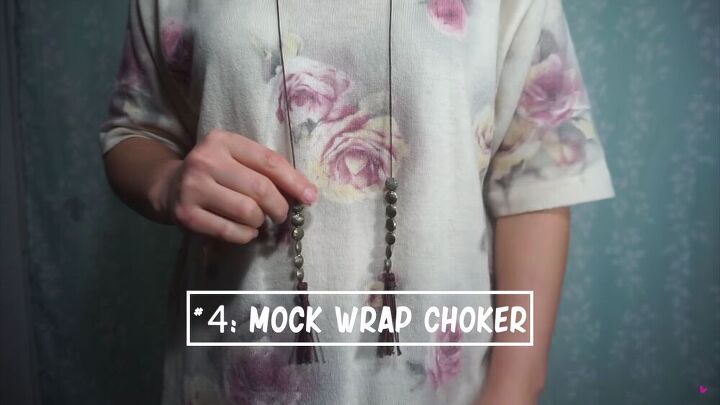
It's such a flowy and feminine DIY choker, and I love how it drapes down to my chest. I really love it!
The author may collect a small share of sales from the links on this page.


Comments
Join the conversation